

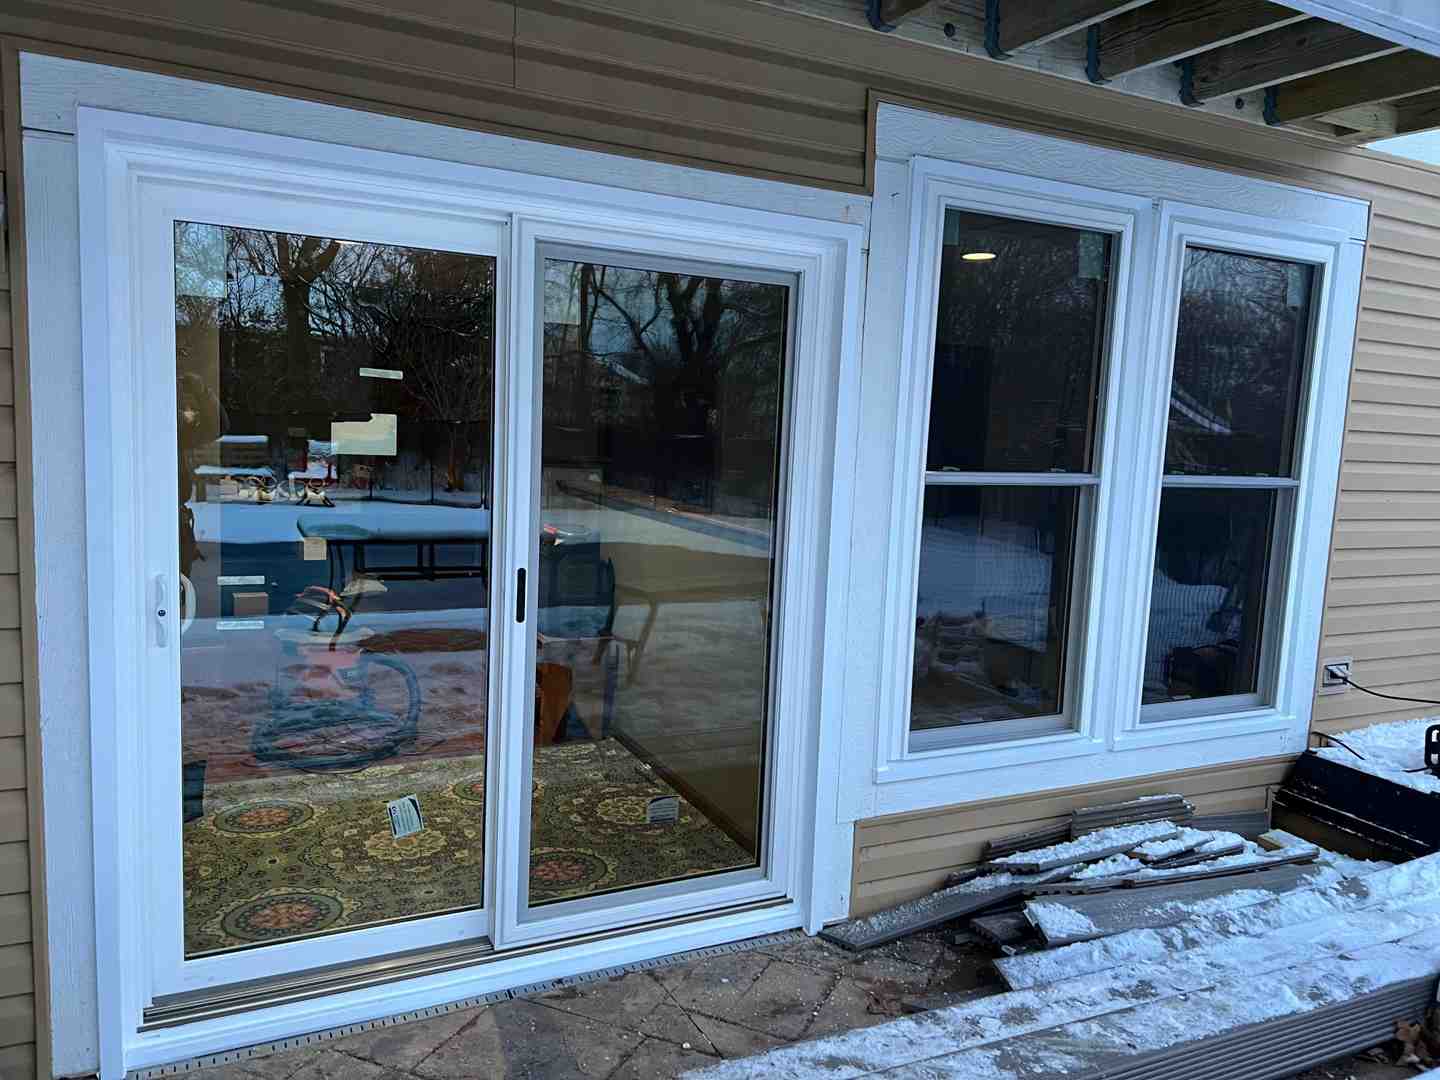
The Step-by-Step Guide to Changing Your Patio Door
How to Change a Sliding Glass Patio Door
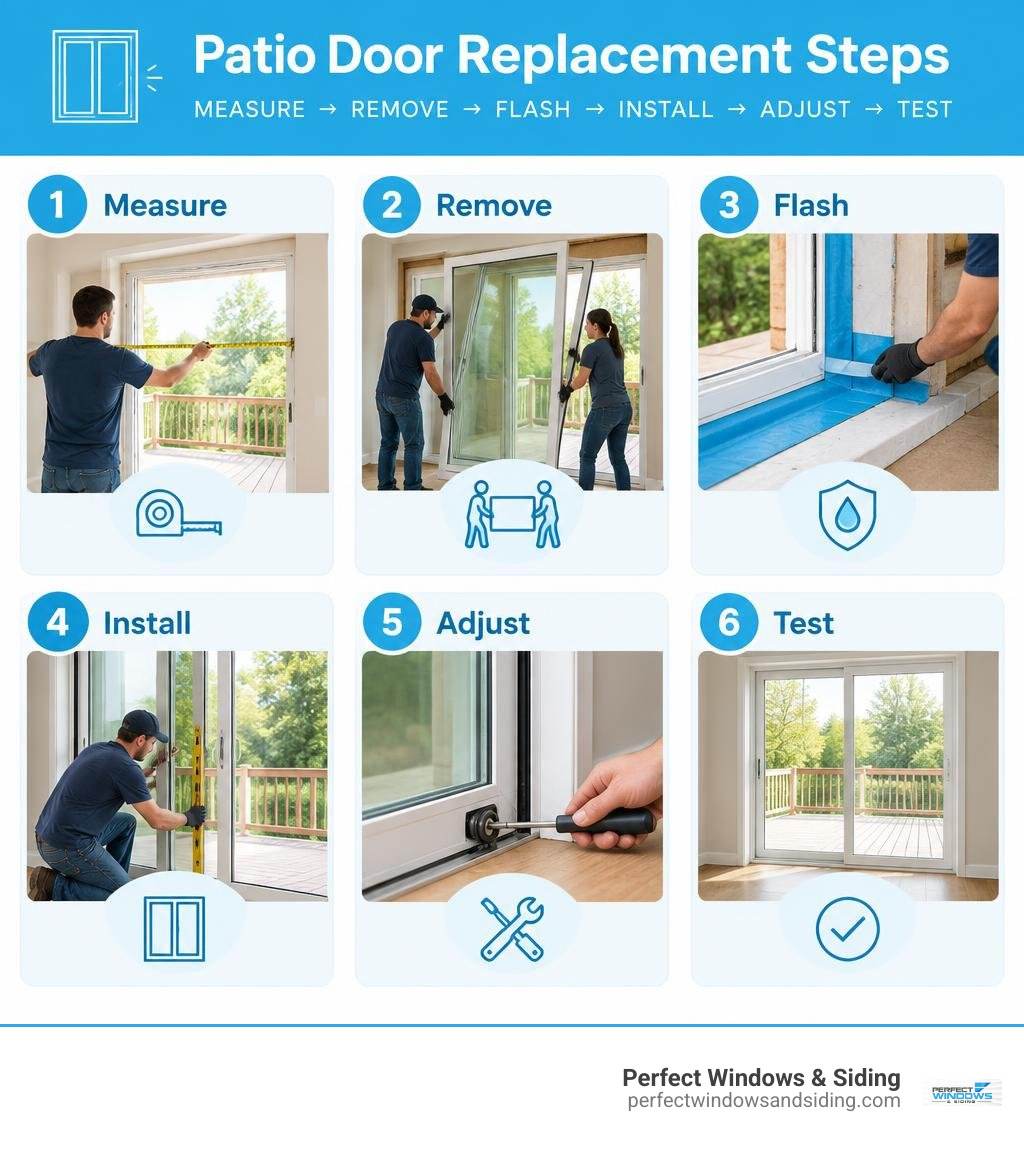
To replace a sliding glass patio door, measure the opening first. With a helper, remove the old panels and frame, then inspect the sill for damage. Install a sill pan and flashing that direct water outside. Set the new frame, shim it until it is level and square, and fasten it as the manufacturer directs. Reinstall the panels, adjust the rollers, and test the latch, sliding action, and weather seal. Changing a sliding glass door is a manageable project when the opening is sound and the heavy glass is handled safely, but if you find rot or cannot manage the weight, call a professional.
I’m Voytek Glab, owner of Perfect Windows & Siding. I’ve spent over 20 years installing windows, siding, and entry doors across Chicagoland, and I bring that focus on fit and weather protection to changing sliding glass door units.
Glossary for changing sliding glass door:
- glass door roller replacement
- changing sliding door lock
- install weather stripping sliding glass door
Assessing Your Patio Door: Repair vs. Full Replacement
Before tearing out an entryway, it pays to determine whether the unit needs basic maintenance or a complete upgrade. Over years of seasonal shifts in areas like Park Ridge and Des Plaines, patio doors experience significant wear. A common culprit behind sticking doors is the “gravity gap” issue—where worn internal hardware or settling frames cause the lower rail of the operating panel to scrape directly against the aluminum sill track.
If your door suffers from drafts, fogged double-pane glass with broken thermal seals, or structural frame decay, a complete replacement provides superior comfort, curb appeal, and security. On the other hand, if the frame and glass are intact but the door drags, refreshing the moving parts might resolve the issue. Exploring modern sliding glass doors can help you decide if an upgraded design better matches your home’s thermal needs.
| Assessment Factor | Component Repair | Full Door Replacement |
|---|---|---|
| Primary Focus | Fix stuck rollers, dirty tracks, or worn latches | Eliminate drafts, frame rot, and fogged glass |
| Glass Condition | Intact, clear insulated glass units | Broken seals, condensation between panes, or cracked glass |
| Frame Integrity | Square, level, and free of structural rot | Warped jambs, subfloor decay, or persistent water leaks |
| Efficiency Impact | Restores proper contact with existing seals | Upgrades entire opening to modern energy-efficient standards |
| Long-Term Durability | Extends existing door life by several years | Backed by comprehensive lifetime product warranties |
Diagnosing Stuck Rollers, Misalignment, and Track Wear
A stubborn patio door often signals localized friction rather than complete system failure. Roughly 30% of sticky doors glide smoothly again after removing accumulated grime from the track and applying proper lubricant. The remaining 70% typically stem from deteriorated roller mechanisms that have developed flat spots or broken internal ball bearings.
Rollers in inland regions typically last between 8 and 12 years before mechanical wear necessitates replacement. When track rails show deep gouges or dents, the wheels cannot roll evenly. For step-by-step guidance on hardware servicing, review our guide on changing sliding glass door rollers or consult this sliding glass door roller replacement guide to identify specific wheel assemblies.
Evaluating Long-Term Value and Efficiency Upgrades
While swapping out worn hardware provides a quick functional reset, it cannot resolve energy loss caused by outdated glazing or degraded frame perimeters. In our Midwest climate, older patio doors account for substantial heat loss during freezing winters and humid summers. Upgrading to high-performance vinyl or fiberglass patio doors featuring multi-pane Low-E glass stops drafts and eases the strain on your HVAC system.
Investing in a complete replacement enhances day-to-day comfort, boosts security with advanced multi-point locking mechanisms, and ensures seamless operation protected by long-term warranty coverage.
Preparing for the Project and Gathering Tools
Proper preparation ensures a smooth installation without leaving your living room open to outdoor elements. Begin by verifying the rough opening dimensions. Measure the width between framing studs at the top, middle, and bottom, then measure the height from the subfloor header at both sides and the center. Always use the smallest dimensions when selecting a replacement unit.
Inspect the sill area thoroughly to confirm the subfloor is solid, dry, and level. Addressing uneven surfaces before setting the new door prevents binding and out-of-square operation later.
Tools and Materials Required for Changing Sliding Glass Door Systems
Having the correct equipment on hand keeps the job efficient and safe:
- Safety Gear: Heavy-duty work gloves, impact-resistant safety glasses, and sturdy work boots
- Hand Tools: Flathead and Phillips screwdrivers, pry bar, utility knife, rubber mallet, and a 4-foot level
- Power Tools: Cordless drill and driver bits
- Weatherproofing Materials: High-grade exterior silicone sealant, self-adhesive flashing tape, and a preformed sill pan
- Installation Hardware: Cedar or composite shims, corrosion-resistant exterior screws, and low-expansion insulating foam designed specifically for windows and doors
Preparation and Safety Considerations for Changing Sliding Glass Door Panels
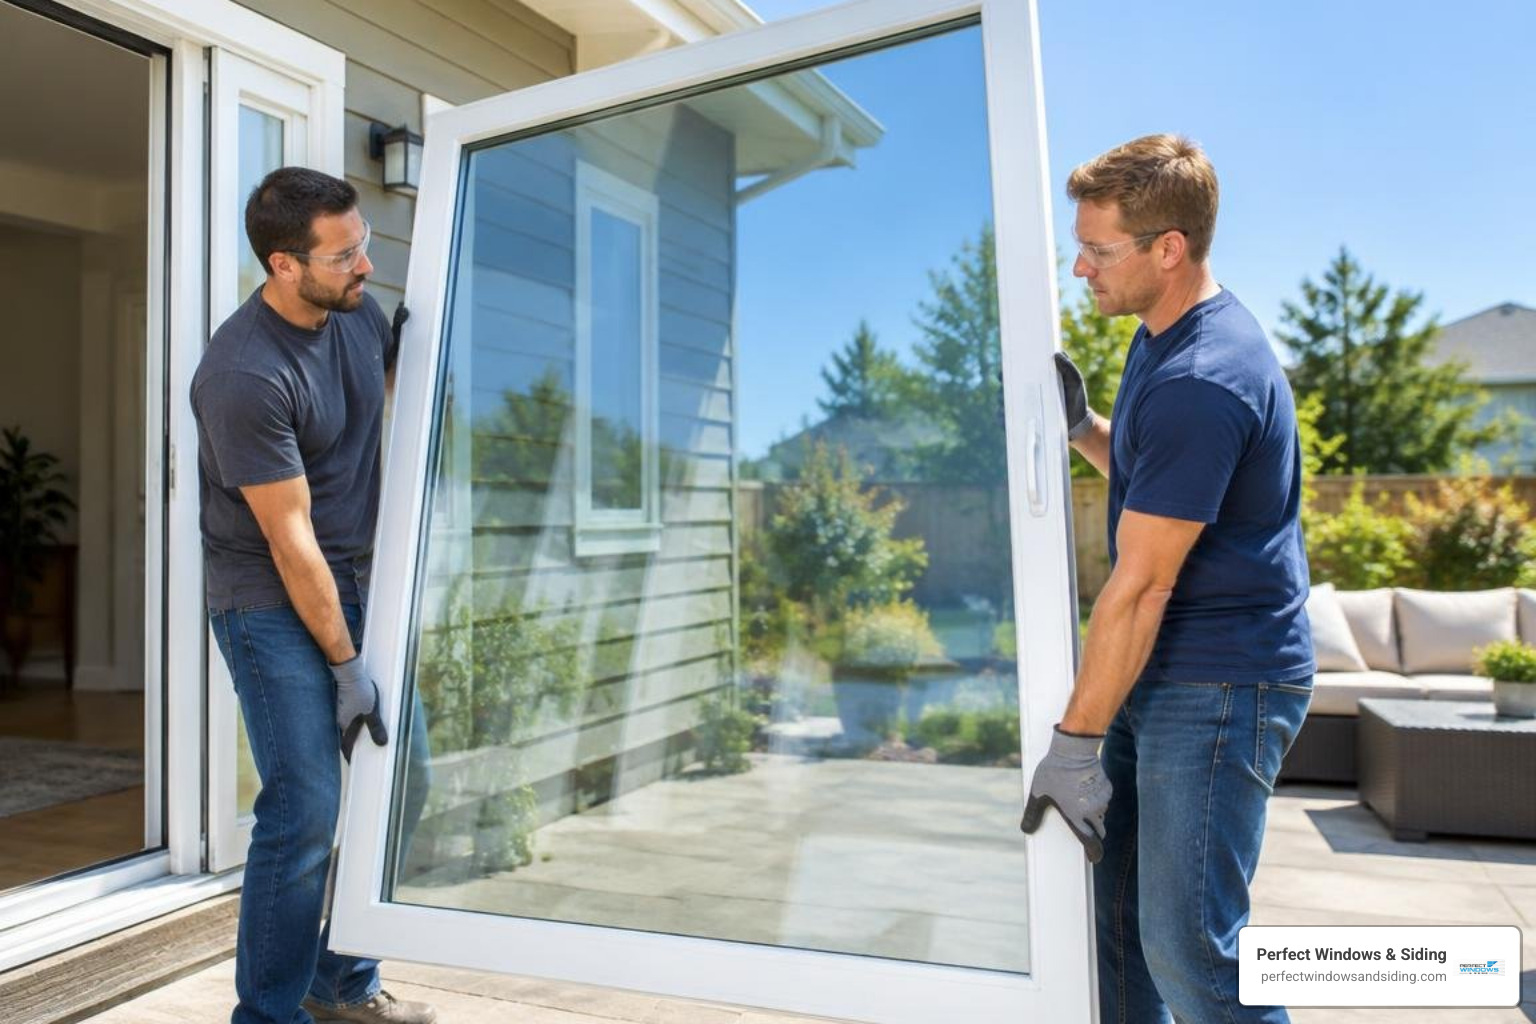
A standard residential sliding glass door panel weighs between 60 and 150 pounds, with large or multi-pane impact units exceeding 200 pounds. Never attempt to remove or install heavy panels alone. Always work with an able partner, plan your walking paths, lay down drop cloths across interior flooring, and support heavy glass panels vertically against a secure wall rather than laying them flat.
Step-by-Step Guide to Changing Sliding Glass Door Units
Executing a clean replacement requires following a methodical sequence to ensure weather tightness and structural stability. You can also review our expert insights on fitting sliding patio doors to familiarize yourself with professional installation standards.
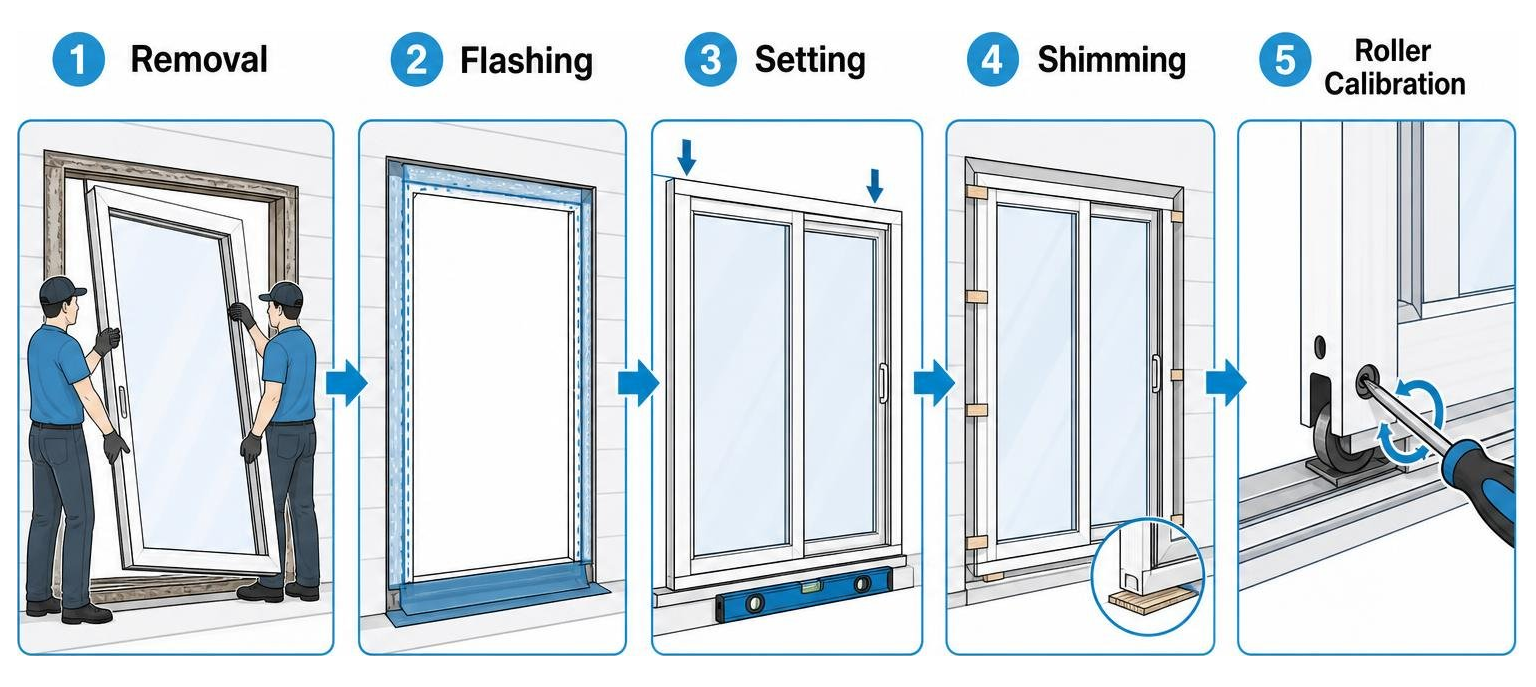
Removing the Old Operating Panel and Frame
- Remove the Screen: Locate the screen door roller adjustment screws at the bottom corners. Turn them counterclockwise to retract the wheels, lift the screen up into the top channel, and swing the bottom out over the track.
- Retract Operating Panel Rollers: Locate the adjustment access holes at the bottom interior face or edge of the active glass panel. Turn the screws counterclockwise to lower the door and retract the rollers completely.
- Take Out the Active Panel: With your helper, grip the sides of the panel, lift it straight up into the head jamb channel until the bottom clears the sill track, and swing the bottom into the room. Carefully carry the panel to a safe storage area.
- Remove the Stationary Panel: Unscrew any top and bottom security brackets or angle clips securing the fixed glass panel. Slide the panel slightly toward the center, lift it upward, and remove it from the frame.
- Dismantle the Outer Frame: Score any interior and exterior caulking with a utility knife. Remove all perimeter screws securing the frame to the rough opening studs. Use a pry bar to gently free the side jambs, head jamb, and threshold sill from the opening.
Flashing and Sill Pan Prep with Existing Vinyl Siding
Proper flashing creates an uninterrupted drainage plane that protects your home’s structural framing from moisture infiltration. When working with existing vinyl siding, take care not to crack the surrounding vinyl profiles.
Inspect the exposed subfloor for moisture damage, sweeping the surface clean of all debris. Install an engineered sill pan across the base of the rough opening, ensuring the back dam faces inward to prevent water penetration. Apply wide, self-adhesive flashing membrane along the sill and extend it at least 6 inches up each vertical side jamb. For additional visual tips, explore this step-by-step DIY installation walkthrough to see how flashing layers tie together seamlessly.
Setting, Shimming, and Securing the New Patio Door
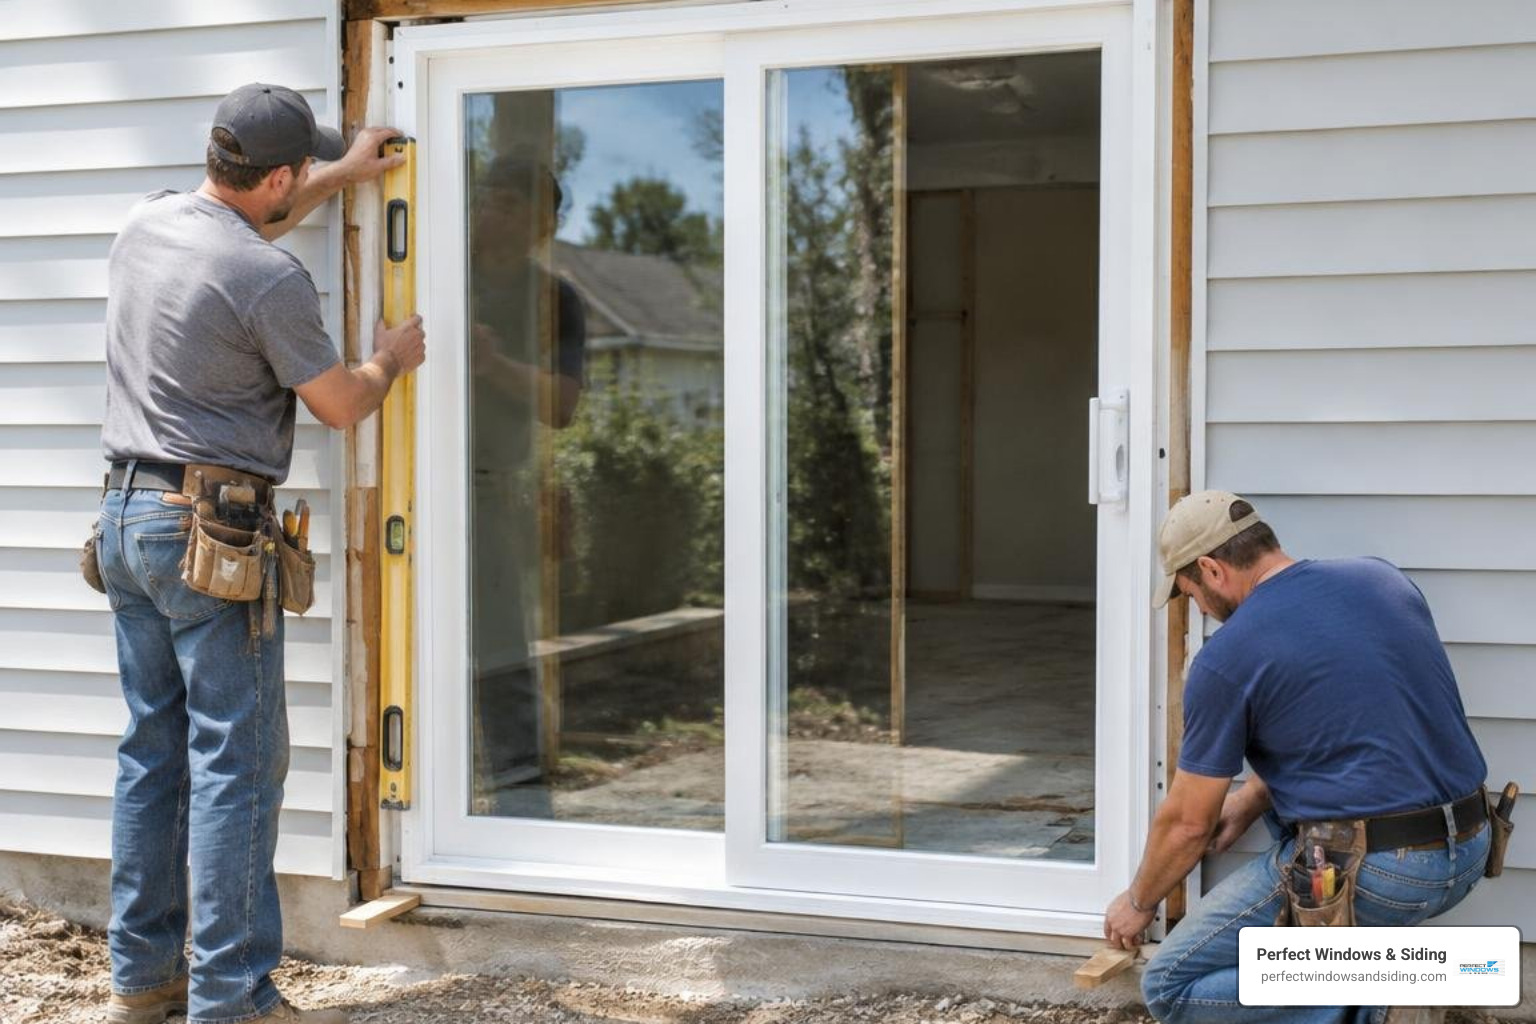
- Dry-Fit the Frame: Place the new frame assembly into the rough opening to verify clearances. Ensure you have roughly 1/4 inch to 3/8 inch of space on all sides for shimming and insulation.
- Apply Sealant: Remove the frame and run two continuous, parallel beads of exterior-grade silicone sealant along the subfloor where the sill will rest.
- Position the Frame: Set the frame into the opening, pressing the sill firmly into the sealant beads.
- Plumb, Level, and Square: Place your 4-foot level against the side jambs and sill. Measure diagonally from corner to corner in an ‘X’ pattern; both diagonal measurements must match exactly.
- Insert Shims: Place cedar or composite shims behind every hinge, latch point, and pre-drilled fastening hole along the side jambs. Shimming behind screw locations prevents the frame from bowing inward when fasteners are tightened.
- Fasten the Unit: Drive corrosion-resistant structural screws through the side jambs and shims into the wall framing. Do not drive screws downward through the bottom sill, as puncturing the lower track invites water leaks.
- Insulate: Seal the perimeter gaps between the door frame and rough opening using low-expansion polyurethane insulating foam.
Calibrating Roller Height and Track Alignment
Once the frame is fastened and the door panels are placed back into their upper and lower tracks, fine-tune the movement. Insert a screwdriver into the lower adjustment ports on each bottom corner of the active panel.
Turn the adjustment screws in quarter-turn increments clockwise to raise the panel, or counterclockwise to lower it. Adjust both sides until the panel sits perfectly parallel to the side jamb, closes squarely against the weatherstripping, and latches smoothly. For a complete overview of modern hardware systems, consult our detailed patio door replacement guide.
Preventive Maintenance and Troubleshooting
A newly installed patio door provides smooth, effortless operation, but periodic care ensures it stays that way across decades of changing seasons.
Deep Cleaning and Proper Track Lubrication
Dirt, pet hair, and coarse debris act like sandpaper against precision roller assemblies. Follow these steps semi-annually to preserve your door:
- Vacuum the Track: Use a crevice attachment to lift loose debris and grit from the bottom rail channels.
- Scrub Clean: Wipe down the tracks using a clean rag lightly dampened with denatured alcohol to remove stubborn residue without leaving a sticky film.
- Apply the Right Lubricant: Spray a high-grade dry silicone lubricant along the track rails and roller cavities.
- Avoid Heavy Greases: Never use standard WD-40, automotive grease, or oil-based sprays; these attract household dust and airborne grit, creating an abrasive paste that damages bearings.
Common Installation Mistakes to Avoid
- Omitting Shims Behind Fasteners: Driving screws into an un-shimmed frame distorts the side jambs, preventing the door from sliding freely.
- Fastening Through the Bottom Sill: Screwing through the threshold compromises the water barrier, leading to hidden subfloor rot.
- Over-Tensioning Frame Screws: Cranking fasteners too tightly pulls the frame out of square, causing air leaks and latch misalignment. Keep weather seals functioning properly by ensuring consistent frame margins, and review our tips on installing sliding glass door weather stripping.
- Using High-Expansion Foam: Standard expanding foam exerts excessive pressure that bows vinyl and wood door jambs. Always use low-pressure, low-expansion window and door foam.
Frequently Asked Questions About Patio Door Replacement
How do you flash a sliding door opening without removing vinyl siding?
To flash an opening without removing the surrounding siding, carefully trim back the vinyl siding roughly 2 inches around the perimeter using an oscillating multi-tool. This creates space to access the underlying sheathing, apply self-adhesive flashing membrane over the nailing fin, integrate a metal head drip flashing, and finish the opening with J-channel and exterior trim casing.
Is it necessary to remove the glass panels before installing a sliding door?
Yes, removing the active and stationary glass panels before maneuvering the frame is highly recommended. Fully assembled units can weigh well over 150 to 200 pounds, making them awkward to lift. Removing the panels prevents personal injury, eliminates frame racking during handling, and protects the glass from accidental breakage.
When should you call a professional instead of attempting a DIY replacement?
You should reach out to a licensed contractor if you uncover structural rot in the subfloor or wall studs, need to modify the structural load-bearing header, or are installing large multi-panel configurations. Licensed professionals possess the specialized tools and carpentry expertise required to guarantee a square, watertight, and fully warranted installation.
Conclusion
Changing out an old, drafty patio door dramatically enhances your home’s thermal efficiency, exterior appearance, and daily convenience. While skilled DIYers can tackle basic installations with careful planning and safety precautions, professional installation ensures long-term weatherproofing, precise alignment, and complete peace of mind.
At Perfect Windows & Siding, our family-owned team brings over 20 years of craftsmanship to homeowners throughout Chicagoland, including communities like Morton Grove, Niles, and Arlington Heights. We back our exterior installations with dedicated customer care and comprehensive lifetime warranty coverage. If you are ready to upgrade your home with high-performance window replacement and patio door installation services, contact our team today to get a free estimate or schedule your consultation.