

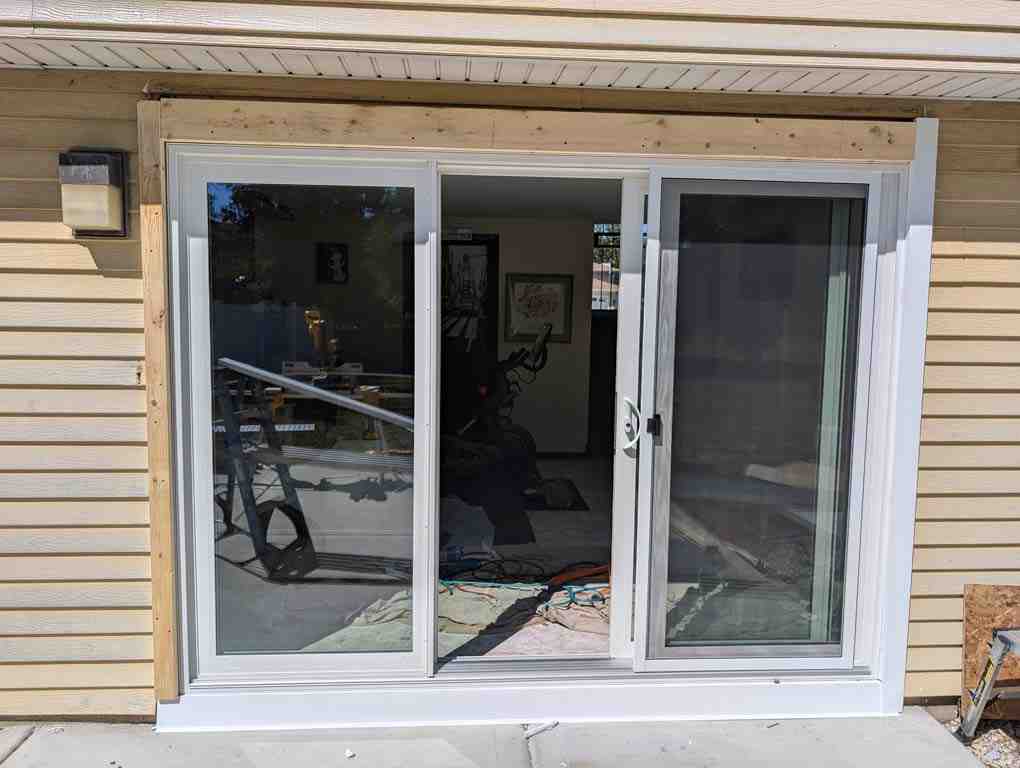
What You Need to Know Before Fitting Sliding Patio Doors
Fitting sliding patio doors is an intermediate DIY project that typically takes 2–4 hours — but only if you plan it right from the start.
Here’s a quick overview of the core steps:
- Choose your frame type — nail fin, block/box frame, or flush flange
- Measure the rough opening — width and height in at least three places each
- Check for square — diagonal measurements must be within 1/8 inch of each other
- Prepare the sill — install a sill pan and apply flashing tape (mandatory for waterproofing)
- Set and level the frame — shim every 12 inches, check plumb and level throughout
- Secure the frame — fasten through the nailing fin or frame per manufacturer specs
- Install the panels — hang the fixed panel first, then the operating panel
- Adjust rollers and seals — fine-tune for smooth operation and a weathertight fit
- Insulate and finish — use low-expansion foam, caulk the exterior, and trim the interior
The rough opening should be between 1/2 inch and 1 inch larger than the door’s width and height. Standard two-panel sliding doors range from 60 to 96 inches wide and 80 to 96 inches tall.
Getting any of those steps wrong — a slightly unlevel sill, skipped flashing, or over-stuffed insulation — can lead to water damage, a door that’s hard to open, or a frame that bows out of square. This guide walks you through every step in plain language, so you get it right the first time.
I’m Voytek Glab, owner of Perfect Windows & Siding, and with over 20 years of hands-on exterior remodeling experience across the Chicagoland area, I’ve seen every mistake that comes with fitting sliding patio doors — and I’ll help you avoid them. Let’s get into it.
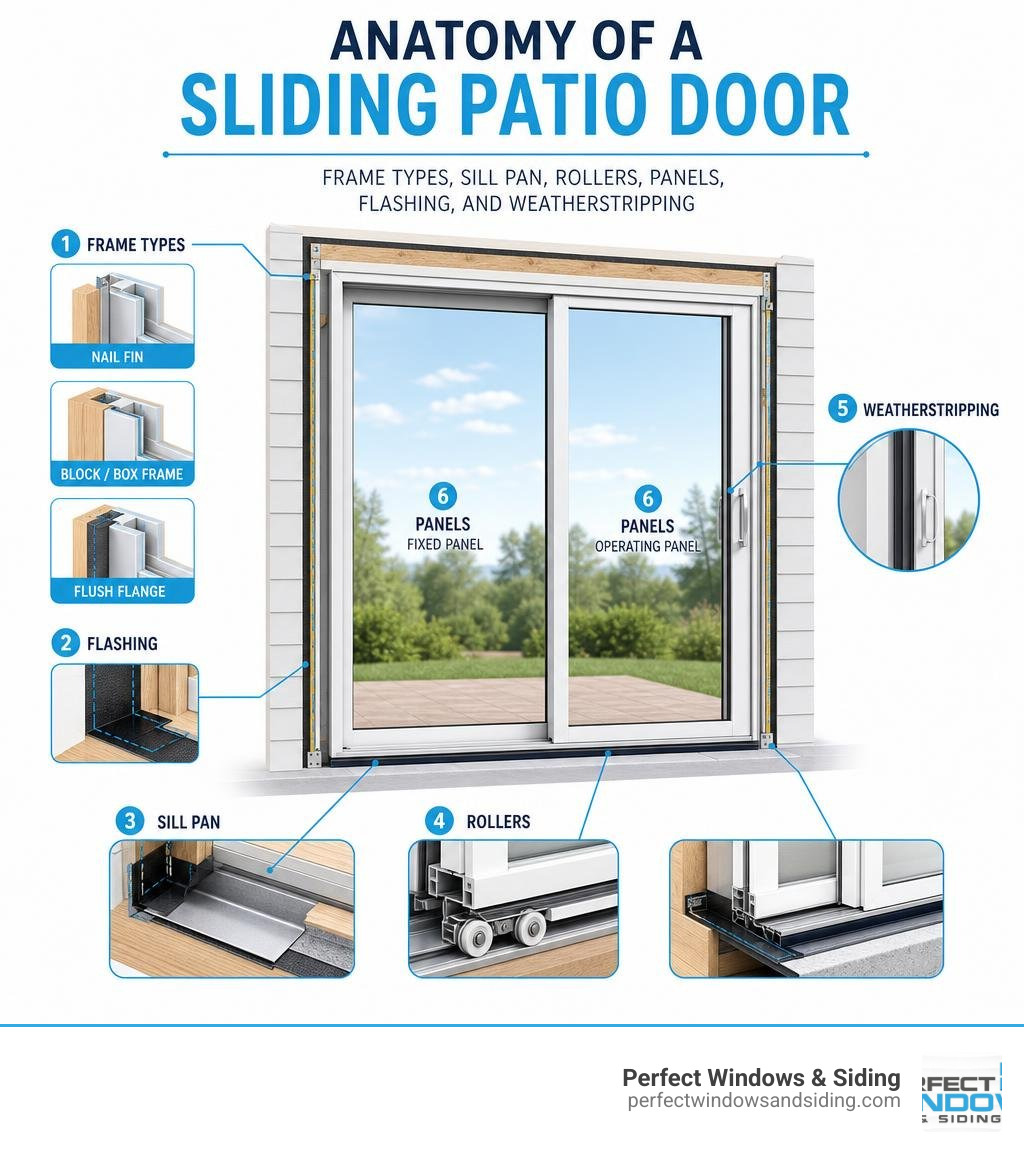
Quick fitting sliding patio doors terms:
Choosing Your Frame Type and Preparing Your Tools
Before you touch a single tool, you must understand the type of door frame you are working with and gather the correct gear. Sliding patio doors are heavy, engineered systems. Using the wrong installation method for your frame type can ruin your home’s building envelope, leading to leaks and drafts.
To ensure your project meets the highest industry standards, we always recommend consulting the manufacturer’s official SLIDING PATIO DOOR INSTALLATION GUIDE for your specific product line.
Nail Fin vs. Block Frame vs. Flush Flange
The way we secure a sliding door to a home depends entirely on the frame style. There are three primary types of sliding patio door frames:
| Frame Type | Primary Wall Construction | Best Used For | Key Installation Method |
|---|---|---|---|
| Nail Fin (Flange) | Wood Stud Walls with Sheathing | New construction or full-frame replacements where siding is removed. | Nailed or screwed directly to the exterior sheathing before siding or trim is installed. |
| Block Frame (Box) | Masonry, Brick, or Concrete | Replacement projects where the existing wood frame is left intact. | Secured with fasteners driven directly through the side jambs into the structural framing. |
| Flush Flange (Retrofit) | Stucco or Existing Aluminum Frames | Retrofit installations where you want to avoid disturbing the exterior facade. | Slides into the existing opening from the exterior; the built-in flange caps over the old frame. |
In the Chicago suburbs, we see a wide variety of architectural styles. For example, homes in older neighborhoods like Park Ridge and Glenview often feature solid brick or masonry openings that require a block frame. Meanwhile, newer constructions in Elgin or Schaumburg typically utilize nail fin frames integrated directly into the home’s weather barrier.
Essential Tools and Safety Gear
Do not attempt this project alone. Sliding glass door panels are incredibly heavy and awkward to handle. You will need at least one strong helper, along with the following tools:
- Spirit Levels: A high-quality 6-foot level is highly recommended to ensure the side jambs do not bow. A shorter 2-foot level is useful for the sill.
- Drill & Driver Bits: For driving structural screws through the frame.
- High-Quality Sealant: We recommend polyurethane or hybrid polymer sealants (such as OSI Quad) that remain flexible in extreme weather.
- Self-Adhering Flashing Tape: For creating a waterproof barrier at the sill.
- Composite Shims: Choose high-impact composite shims over traditional wood. Composite shims will not rot, compress, or swell when exposed to moisture.
- Safety Gear: Heavy-duty work gloves and safety glasses are non-negotiable when handling large glass sashes.
Measuring and Preparing the Rough Opening
A few millimeters can make the difference between a smooth, professional installation and an expensive delay. If your rough opening is out of square or unlevel, your door panels will bind, leak air, or fail to lock properly.

How to Measure the Structural Opening
When replacing an existing door, do not simply measure the old door frame. You must measure the actual structural opening (the raw wood studs) behind the interior trim. For a comprehensive look at sizing, refer to our Patio door replacement guide 2026.
To get an accurate measurement, follow these steps:
- Measure the Width: Take measurements across the top, middle, and bottom of the opening. Record the smallest number.
- Measure the Height: Measure from the subfloor to the header on the left, center, and right sides. Record the smallest number.
- Check for Square: Measure diagonally from the top-left corner to the bottom-right, and the top-right corner to the bottom-left. These two diagonal measurements must be within 1/8 inch of each other. If they differ by more than 1/4 inch, the opening is significantly out of square and will require correction before the door can be installed.
Preparing the Rough Opening for Fitting Sliding Patio Doors
Once the old door is completely removed, inspect the bare wood studs and subfloor. Look closely for signs of structural decay, water stains, or insect damage. If you find rotted wood, it must be cut out and replaced before you proceed.
Next, verify that the subfloor is perfectly flat and level. If the subfloor slopes, you must use shim blocks or a self-leveling compound to create a perfectly flat surface. For detailed instructions on preparing various wall types, read the How to Install a Sliding Glass Patio Door | 8 Easy Steps (2026) guide.
Installing the Sill Pan and Flashing
Skipping the sill pan is the single most common cause of water damage in sliding door installations. A sill pan is a mandatory three-sided container that sits on the subfloor beneath the door, designed to collect any water that bypasses the seals and drain it safely to the exterior.
- Install a Rigid or Flexible Sill Pan: Ensure the sill pan has at least a 1/2-inch interior upturn leg to prevent water from spilling into your home, and a 2-inch exterior downturn leg to shed water over the house wrap.
- Apply Flashing Tape: Apply self-adhering flashing tape over the sill and wrap it at least 6 inches up the vertical side studs.
- Follow the Shingle Principle: Always install flashing from the bottom up. This ensures that any water running down the wall flows over the top of the lower layers rather than seeping behind them.
Step-by-Step Guide to Fitting Sliding Patio Doors
With the opening prepped and waterproofed, you are ready for the core installation. Take your time during these steps; constantly check your work with your level.
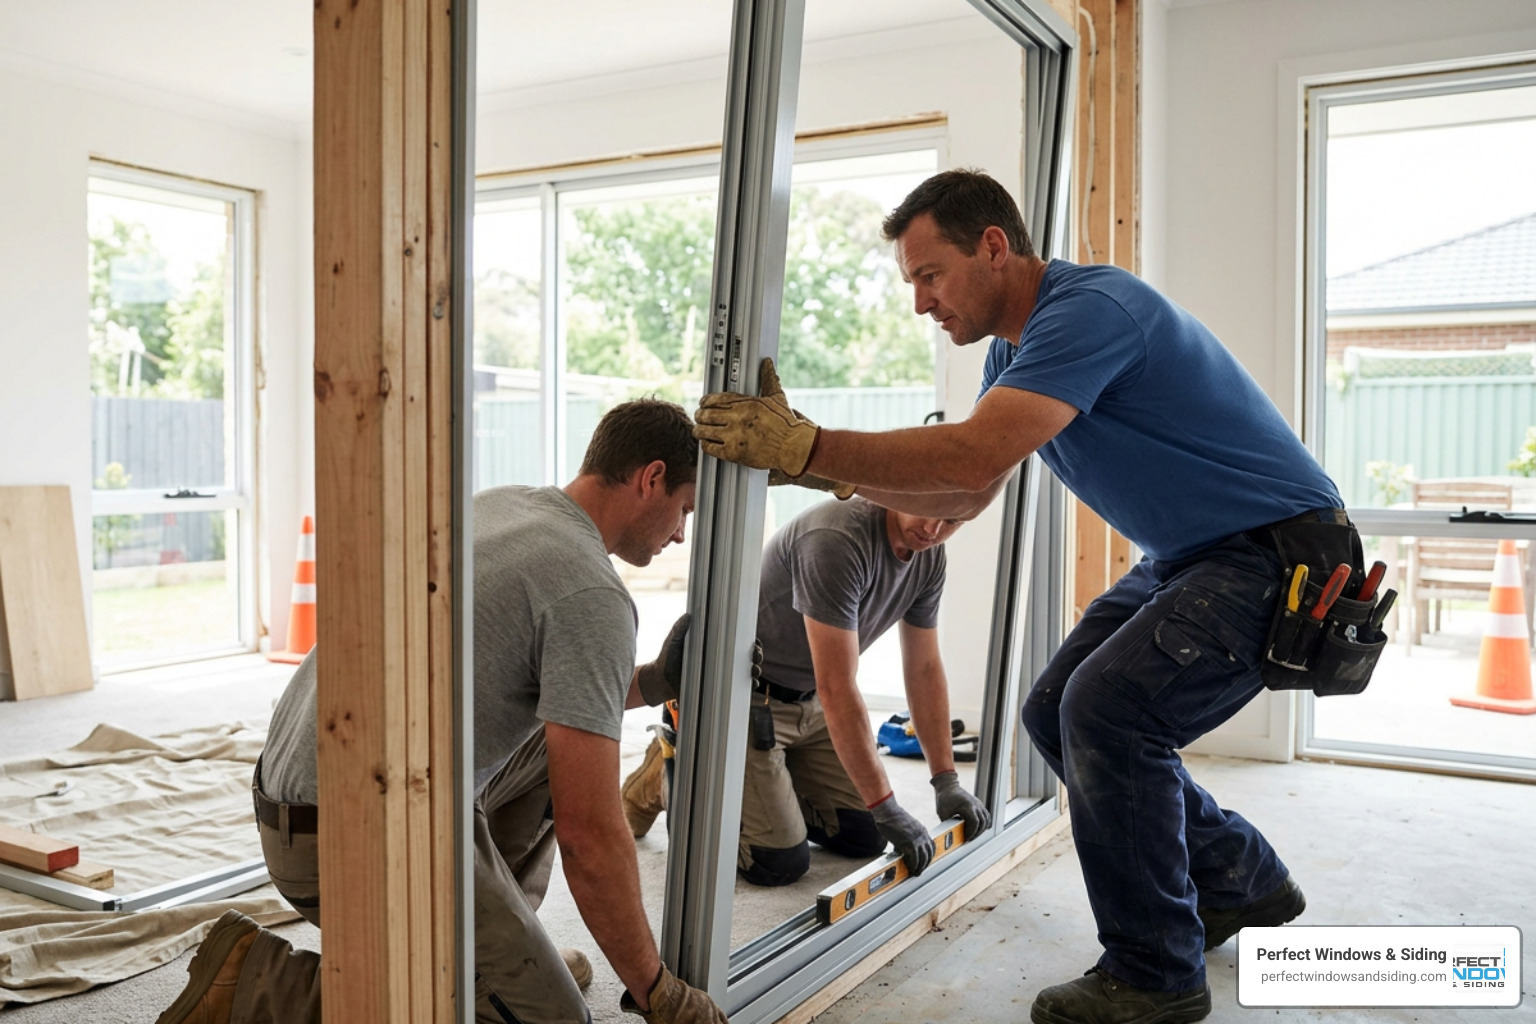
Setting and Securing the Door Frame
Before applying sealant, perform a “dry fit” by lifting the door frame into the opening with your helper. This ensures the frame fits comfortably without being forced. If everything looks good, remove the frame and prepare for final placement.
- Apply Sealant: Lay down three continuous 3/8-inch beads of high-quality sealant along the sill pan. If you are installing a nail fin door, apply a continuous bead of sealant to the backside of the exterior nailing flange.
- Set the Frame: Tilt the bottom of the frame into the sill pan first, then swing the top into place. Press the frame firmly to compress the sealant.
- Shim the Frame: Insert composite shims behind the screw holes on the side jambs. Place shims every 12 to 18 inches. Ensure the shims are snug but not forced; over-shimming can bow the frame.
- Fasten the Frame: Drive structural screws through the pre-drilled holes in the frame (or through the nailing fin if applicable) and into the wood studs. For a deeper dive into fastening techniques, check out our Windows and doors installation guide.
Installing and Adjusting the Door Panels
With the frame securely anchored, you can now install the heavy glass panels.
- Install the Fixed Panel: Most modern sliding doors require you to install the stationary (fixed) panel first. Secure it in place using the manufacturer’s provided brackets and screws.
- Install the Operating Panel: Lift the sliding panel, tilt the top into the upper head track, and then swing the bottom over the lower sill track.
- Adjust the Rollers: Locate the roller adjustment screws at the bottom corners of the sliding panel. Using a manual screwdriver, turn the screws clockwise to raise the panel or counterclockwise to lower it. Adjust the rollers until the panel is perfectly parallel to the side jamb and slides smoothly without dragging. If you ever need to replace worn rollers in the future, our guide on DIY sliding door roller replacement made simple breaks down the process step-by-step.
- Align the Lock: Test the locking mechanism. If the latch does not line up with the strike plate, adjust the roller height slightly until the lock engages smoothly.
Pro-Tips for Fitting Sliding Patio Doors in Chicago Homes
The Chicagoland climate is notoriously harsh on exterior doors. From freezing winter blizzards in Wilmette to humid, rainy summers in Hinsdale, local doors expand and contract constantly. Keep these local pro-tips in mind:
- Use Low-Expansion Foam Only: When insulating the gap between the door frame and the rough opening, only use minimal-expansion polyurethane foam designed specifically for windows and doors. Standard high-expansion foam will expand with enough force to bow vinyl or wood frames, rendering your new door inoperable.
- Keep Weep Holes Clear: Sliding door tracks feature built-in weep holes to drain rainwater to the exterior. Never seal these holes with caulk or paint. Check them regularly to ensure they are free of dirt and debris.
- Leave an Expansion Gap: Leave a 3/8-inch expansion gap between the exterior door frame and your siding or brick mold to allow the materials to shift safely during seasonal temperature swings.
Frequently Asked Questions about Patio Door Installation
How long does it take to install a sliding patio door?
For a pair of experienced professionals, a standard sliding patio door replacement takes about 2 to 3 hours, including the removal of the old door and clean-up. For an intermediate DIYer with a helper, expect the project to take a full afternoon (approximately 4 to 6 hours) to ensure all waterproofing and leveling steps are completed perfectly.
Why is my sliding door hard to open or close?
If a newly installed door is dragging or difficult to slide, the most common culprit is improper roller adjustment or a bowed frame. First, try adjusting the roller screws at the bottom of the panel to lift it off the track. If the door still binds, place a level against the side jambs to check for bowing. Bowing is usually caused by over-shimming or using high-expansion spray foam that has warped the frame.
Should I hire a professional for sliding door installation?
While a handy homeowner can tackle this project, hiring a certified professional is highly recommended for several reasons:
- Structural Rot: If you uncover rotted framing or sagging headers, structural repairs must be made before the new door can be installed.
- Warranty Protection: Many premium door manufacturers require certified installation to maintain their structural and glass warranties.
- Extreme Weather Performance: Professional installers understand how to properly flash and seal a door to withstand heavy wind-driven rain and freezing temperatures without leaking.
Conclusion
Fitting sliding patio doors is a highly rewarding home improvement project that can flood your living space with natural light and dramatically improve your home’s energy efficiency. However, achieving a perfectly plumb, level, and waterproof installation requires patience, precision, and the right techniques.
If you live in Des Plaines, Park Ridge, Morton Grove, or the surrounding Chicago suburbs and would prefer to leave this heavy lifting to the experts, we are here to help. At Perfect Windows & Siding, our family-owned business has spent over 20 years delivering custom, high-quality exterior remodeling solutions backed by our industry-leading lifetime warranty.
Ready to elevate your home comfort and style? Schedule your consultation with our exterior door installation experts today to get a free estimate.