

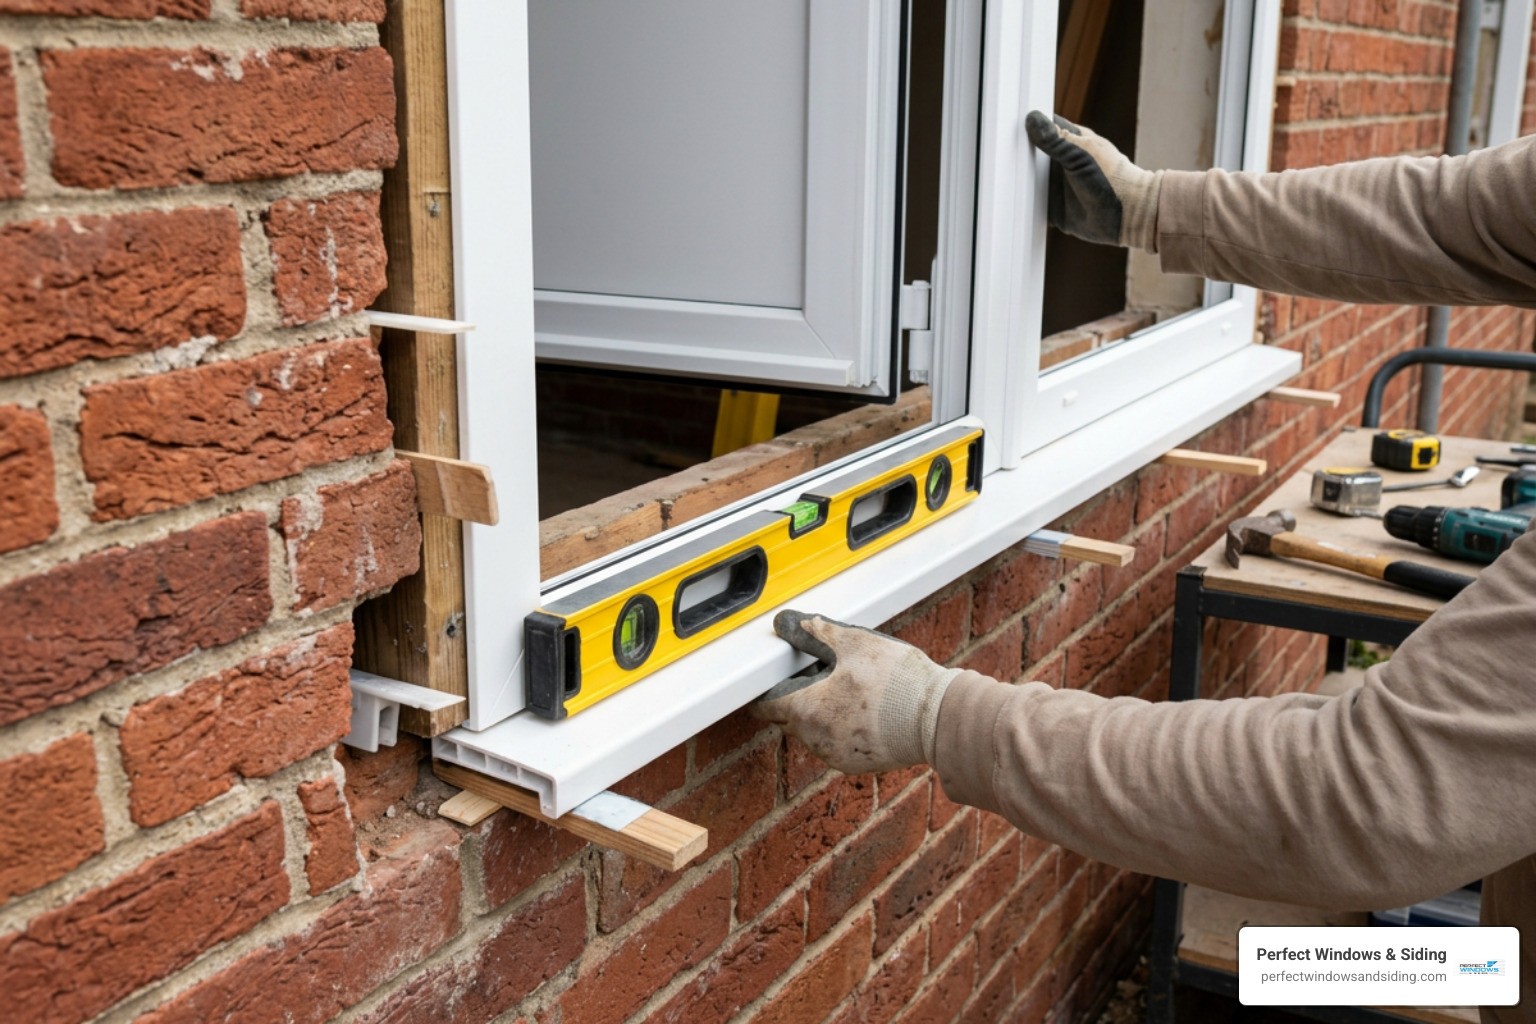
Essential Tools, Materials, and Pre-Installation Checks
Fitting a uPVC front door requires four core steps: measuring the opening and deducting 10mm for expansion, bedding and leveling the sub-cill, squaring and anchoring the frame with dedicated masonry fixings, and toe-and-heeling the glazed unit to prevent sash sag. Ensuring your rough opening is verified, squared, and measured correctly prevents air infiltration and structural binding over time.
When working with modern unplasticized polyvinyl chloride (uPVC) profiles, proper preparation ensures your project runs smoothly. For homeowners wanting a comprehensive look at home envelope mechanics, the ultimate diy door and window installation handbook provides foundational principles for handling residential apertures.
| Door Material | Maintenance Needs | Energy Performance | Installation Complexity | Primary Benefit |
|---|---|---|---|---|
| uPVC | Very Low (Wipe clean) | High (Multi-chamber insulation) | Moderate (Requires toe-and-heeling) | Weatherproof & durable |
| Composite / GRP | Low (Occasional wash) | Superior (Insulated core) | Moderate to High | High security & strength |
| Traditional Timber | High (Regular sealing/painting) | Moderate | High (Custom planing required) | Classic architectural look |
| Insulated Steel | Low (Check for scratches) | Excellent (Thermal break core) | Moderate | Exceptional perimeter protection |
Accurate Measuring Before Fitting a uPVC Front Door
Taking exact measurements determines how well your door functions over its entire lifespan.
- Width Measurements: Measure the brickwork opening horizontally across the top, middle, and bottom reveals. Record all three numbers and keep the smallest measurement.
- Height Measurements: Measure vertically from the underside of the lintel down to the masonry sill bed on the left, center, and right. Record the smallest number.
- The 10mm Rule: Subtract 10mm from your smallest width and height measurements. This built-in deduction guarantees a 5mm expansion perimeter on all sides to accommodate natural seasonal movement.
- Diagonal Verification: Measure diagonally from corner to corner across the masonry opening. If the two diagonal measurements differ by more than 2mm, the brickwork is out of square and will require calculated packing during the installation process.
Required Toolkit and Fasteners
Having professional-grade tools on hand prevents unnecessary delays during installation:
- Power Tools: SDS rotary hammer drill with 6.0mm and 6.5mm masonry drill bits, variable-speed cordless driver, and a reciprocating multi-tool.
- Hand Tools: 1200mm precision spirit level, glazing paddle, rubber mallet, flat pry bar, sharp chisel, tape measure, and metric Allen keys (4mm and 5mm).
- Fasteners & Shims: Heavy-duty 7.5mm x 120mm direct masonry frame screws, assorted flat plastic glazing packers (1mm to 6mm), and horse-shoe shims.
- Sealants & Insulation: Low-modulus neutral-cure exterior silicone sealant, low-expansion polyurethane installation foam, glazing bridging clips, and dry graphite lubricant powder.
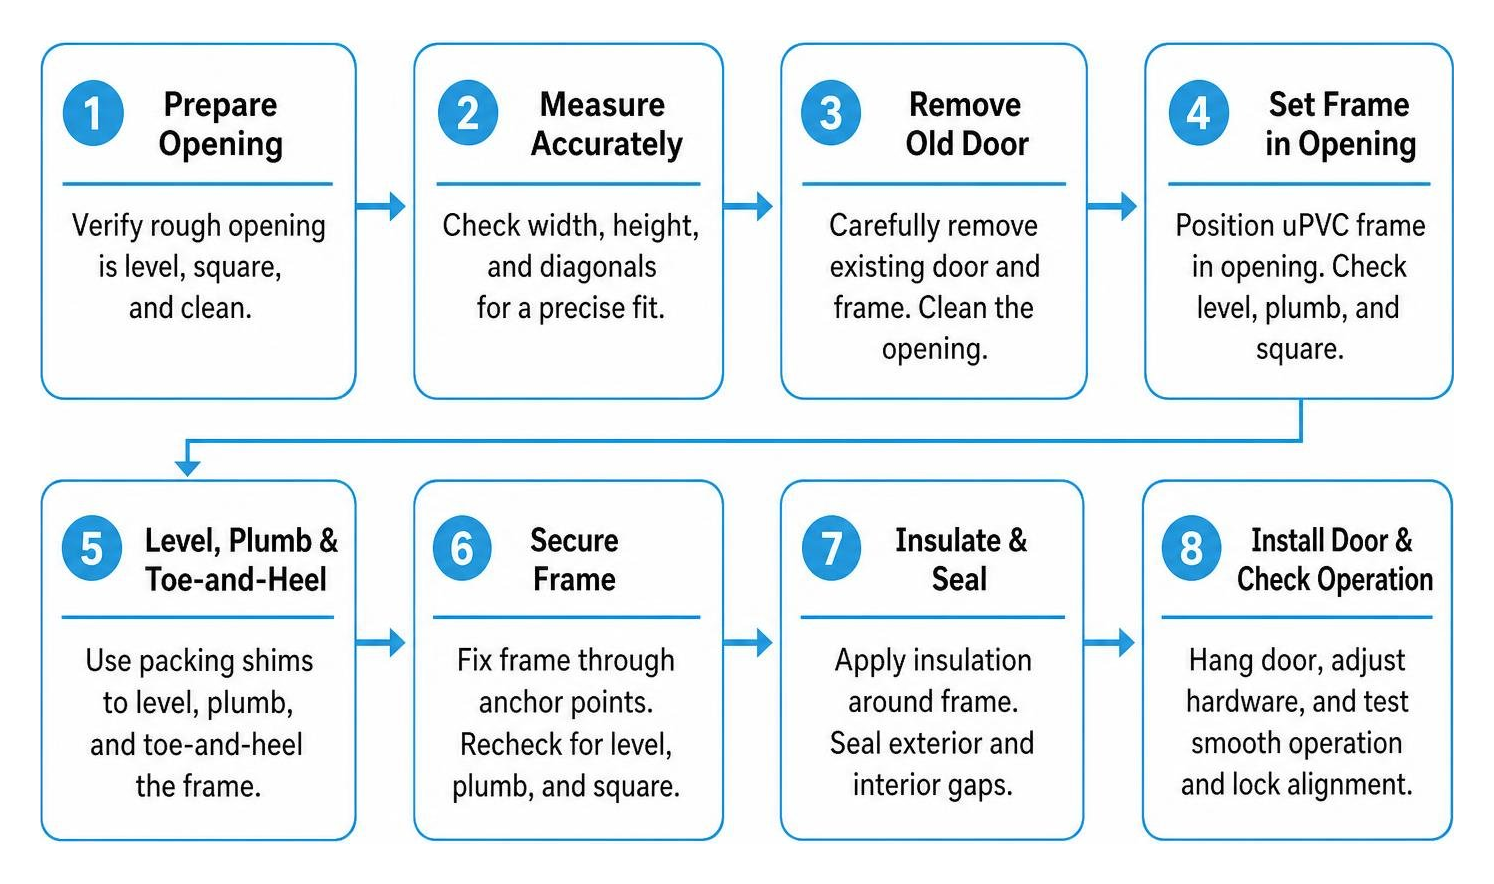
Step-by-Step Guide to Fitting a uPVC Front Door
A methodical approach ensures structural stability, airtight seals, and dependable operation. When executing an exterior door replacement, protecting the building envelope from water infiltration remains the highest priority.
Removing the Old Door and Preparing the Aperture
- Unhinge the Old Leaf: Open the existing door, support its base, and drive out hinge pins or unscrew hinge plates to remove the active door leaf.
- Score Perimeter Finishes: Run a sharp utility blade along internal plaster lines and external caulk joints to prevent chipping decorative drywall or masonry.
- Execute the Chunk Removal Technique: Cut through the old timber side jambs roughly 150mm above and below center using a reciprocating saw. Lever the center chunks inward away from the masonry using a flat pry bar. This relieves tension and lets you remove the top and bottom frame components cleanly without cracking interior plaster.
- Clean the Aperture: Clear away old mortar nibs, deteriorated sealant, and dust using a hammer, bolster, and shop vacuum. Inspect the underlying damp-proof course (DPC) to make sure it is completely intact.
Assembling, Bedding, and Sealing the Cill
The sub-cill channels rainwater away from the foundation and interior subfloors. If you are reviewing sill and threshold assemblies, consult our guide on how to cross that bridge how to install a new door threshold.
- Cut and Cap the Cill: Measure the external masonry reveal width and cut the profile to size. Secure the end caps using high-grade adhesive sealant to stop moisture from migrating into adjacent wall cavities.
- Bedding the Profile: Lay a continuous, heavy bead of low-modulus neutral-cure silicone along the masonry bed.
- Mechanical Fastening: Fasten the cill to the underside of the outer uPVC door frame using 50mm self-tapping screws. Space fixings 150mm inward from each end, maintaining intervals no greater than 500mm apart.
- Preserve Weep Holes: Never apply silicone sealant across the front drainage outlets or between the bottom outer frame profile and cill face, as this prevents built-in water drainage channels from working correctly.
Positioning, Squaring, and Securing the Frame
- Position the Frame: With two people, lift the bare door frame into the rough opening, resting it squarely on the bedded cill.
- Plumb and Level: Use a 1200mm spirit level against both vertical jambs and the head. Insert solid plastic packers underneath and behind the frame corners to establish true level.
- Set the Reveal Depth: Set the outer frame back approximately 10mm to 20mm from the exterior brick face to create a clean reveal line.
- Pre-Drill Anchors: Pre-drill through the uPVC profile and internal metal reinforcing chambers, drilling 6mm pilot holes into the masonry at least 50mm deep for brick/block, 40mm for concrete, or 60mm into solid timber framing.
- Secure Strategic Fixings: Position corner fixings between 150mm and 200mm from top and bottom corner welds to prevent cracking joints. Keep vertical spacing along each jamb under 300mm. Always place a solid plastic packer behind every screw location so driving the anchor does not bow the frame inward. Always place a dedicated fixing adjacent to the multipoint lock keep to provide solid backing against forced entry.
Glazing and Hardware Calibration for Long-Term Performance
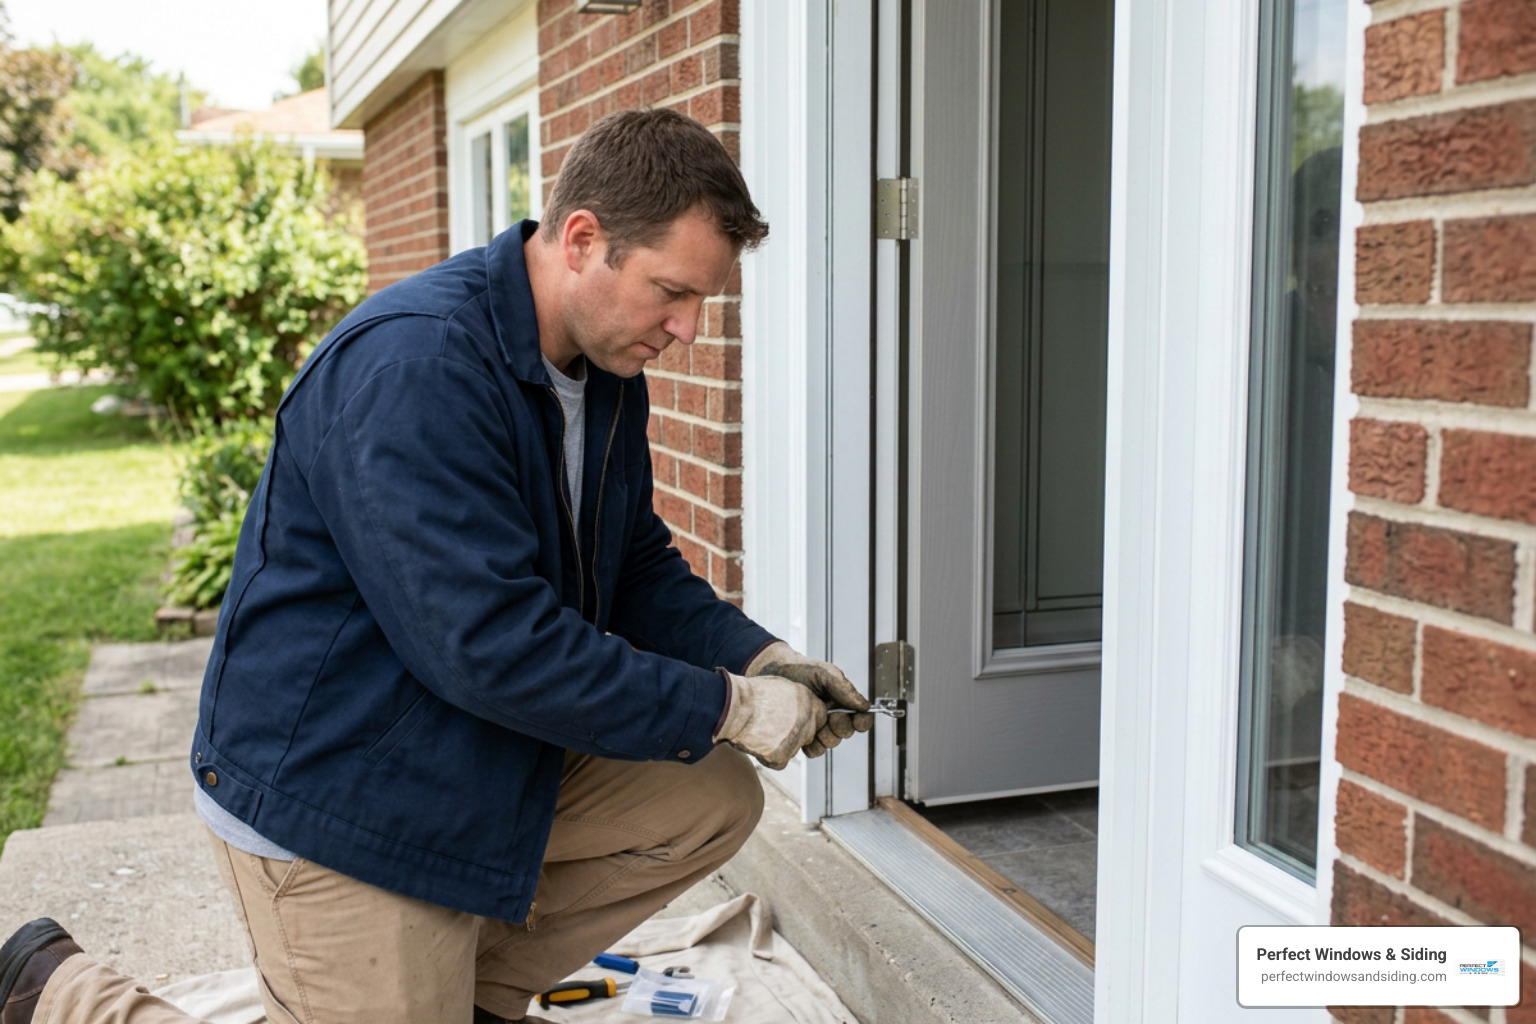
A common issue with newly installed doors is leaf drop, where the latch side drags against the bottom threshold or fails to lock smoothly. Installing glass panels correctly stabilizes the door sash and maintains long-term alignment.
When fitting weather barriers around residential entrances, our walkthrough to install door weather stripping provides additional guidance on eliminating drafts.
Mastering Toe and Heeling When Fitting a uPVC Front Door
uPVC door leaves rely on the structural rigidity of the double-glazed unit to maintain a square profile. Without proper diagonal bracing, the heavy weight of the sash will naturally pull downward on the latch side over time.

- Position the Bottom Hinge Packer (Toe): Place a flat bridging packer in the bottom corner of the sash rebate directly adjacent to the bottom hinge.
- Position the Top Lock Packer (Heel): Place a matching packer in the diagonally opposite top corner on the lock/handle side.
- Seat the Insulated Glass Unit: Rest the double-glazed unit onto the bottom toe packer and slide it back into the sash rebate.
- Lever and Pack: Use a plastic glazing paddle to lever the top corner of the glass upward, inserting snug packers until the door sash lifts slightly and squares within the outer frame.
- Re-Fit Glazing Beads: Snap the glazing beads back into position using a rubber mallet. Install the top and bottom short beads first, followed by the longer vertical side beads. Spraying a dilute solution of mild soapy water along the gaskets helps the beads snap cleanly into place.
Flag Hinge and Multi-Point Lock Adjustments
Modern residential uPVC doors feature 3-way adjustable flag hinges that allow precise alignment across three distinct axes:
- Vertical Height Adjustment: Remove the bottom protective hinge cap and insert a 5mm Allen key into the base adjustment screw. Turn clockwise to raise the door sash up to 4mm if it catches on the threshold. Always adjust all hinges evenly to balance the weight.
- Lateral Side-to-Side Adjustment: Adjust the horizontal screw located on the side of the hinge body using a 4mm or 5mm Allen key. Turning this screw shifts the door leaf left or right, centering the sash and providing a consistent 5mm to 6mm reveal gap between the leaf and frame.
- Gasket Compression Adjustment: Rotate the eccentric top cam or compression pins to draw the sash tighter against the perimeter weather seals, eliminating drafts without creating excess handle resistance.
- Hardware Lubrication: Apply light machine oil or white lithium grease to the multi-point locking hooks, roller cams, and hinge pivots every six months. Always use a dry graphite powder lubricant for the lock cylinder barrel—never use wet oils or standard water-dispersant sprays, as they attract grit and gum up the internal tumblers.
Perimeter Sealing and Insulation Best Practices
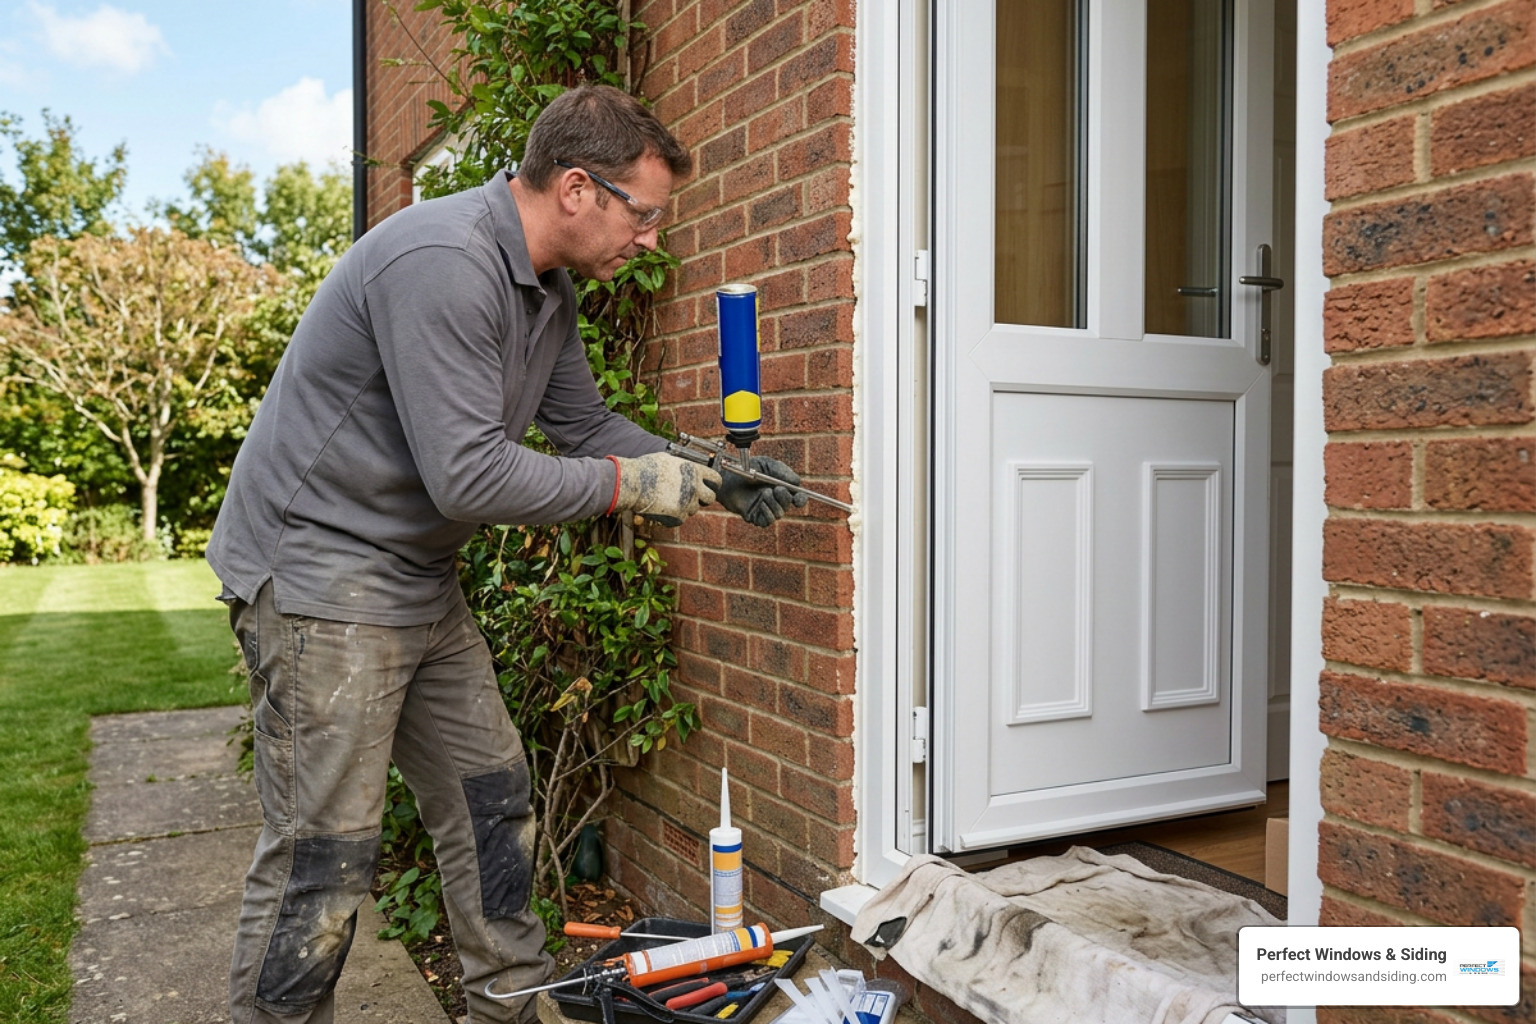
Proper insulation around the frame perimeter prevents heat loss, stops drafts, and protects your home against seasonal weather changes. If thermal efficiency is a top priority, explore our insights on energy efficient door installation to see how modern entry systems perform in severe climates.
- Use Low-Expansion Polyurethane Foam: Fill frame-to-masonry gaps exceeding 10mm with dedicated low-expansion polyurethane foam. Standard high-expansion expanding foams generate excessive pressure during curing that can bow uPVC frames inward and prevent the door from locking. Allow the foam to cure undisturbed for at least two hours before trimming flush with a sharp knife.
- Apply Neutral-Cure Perimeter Silicone: Run a continuous bead of low-modulus neutral-cure silicone along the entire exterior joint where the uPVC frame meets the brickwork. Neutral-cure silicones maintain elasticity through temperature extremes without losing adhesion or staining masonry.
- Tooling the Seal: Tool the silicone bead at a consistent 45-degree angle using a smoothing tool or a wetted, gloved finger to direct water away from the joint.
- Interior Trims and Finishes: Fit color-matched uPVC architraves or composite trim profiles over interior gaps using high-grab construction adhesive, and finish with paintable acrylic caulk along the plaster edge.
Frequently Asked Questions About uPVC Door Installation
How much smaller should the frame be than the rough brick opening?
The manufactured outer uPVC frame should be 10mm smaller overall than your smallest structural brick opening measurements. This leaves an even 5mm expansion gap around the perimeter, which accommodates thermal expansion during hot summer days and contraction in freezing weather while leaving adequate room for structural shims and sealants.
Why is toe and heeling necessary on uPVC glazed doors?
Toe and heeling is a structural glazing technique that uses the double-glazed unit as an internal diagonal brace. Because uPVC profiles are welded at the corners and can flex under heavy loads, placing structural packers at the lower hinge corner and opposite top lock corner transfers the glass weight back to the hinges. This prevents the door sash from sagging, catching on the bottom frame, or binding against the lock keeps.
Can I use standard expanding foam or WD-40 on my uPVC door?
No. Standard expanding polyurethane foam exerts high pressure during curing, which can bow the hollow uPVC frame inward and throw the multipoint locking system out of alignment. Always use low-expansion polyurethane foam. Similarly, standard water-dispersant sprays should never be used on lock cylinders because they wash away factory lubricants and attract dirt; use dry graphite powder in the key barrel instead.
Conclusion
Installing an exterior door requires patience, precision, and the right tools. Making sure the frame is plumb, properly bedded, securely anchored, and braced through correct glazing ensures smooth operation, strong security, and lasting draft protection for your home.
When local homeowners in Des Plaines, Park Ridge, Morton Grove, and across the Chicago suburbs want absolute peace of mind, professional craftsmanship makes all the difference. At Perfect Windows & Siding, our licensed, insured installation teams bring over 20 years of hands-on expertise, custom home improvement solutions, lifetime warranty coverage, and personalized customer care to every project.
If you are planning an upgrade to your home’s entryway, explore our complete exterior door installation options and contact our team to schedule your consultation or get a free estimate today.