

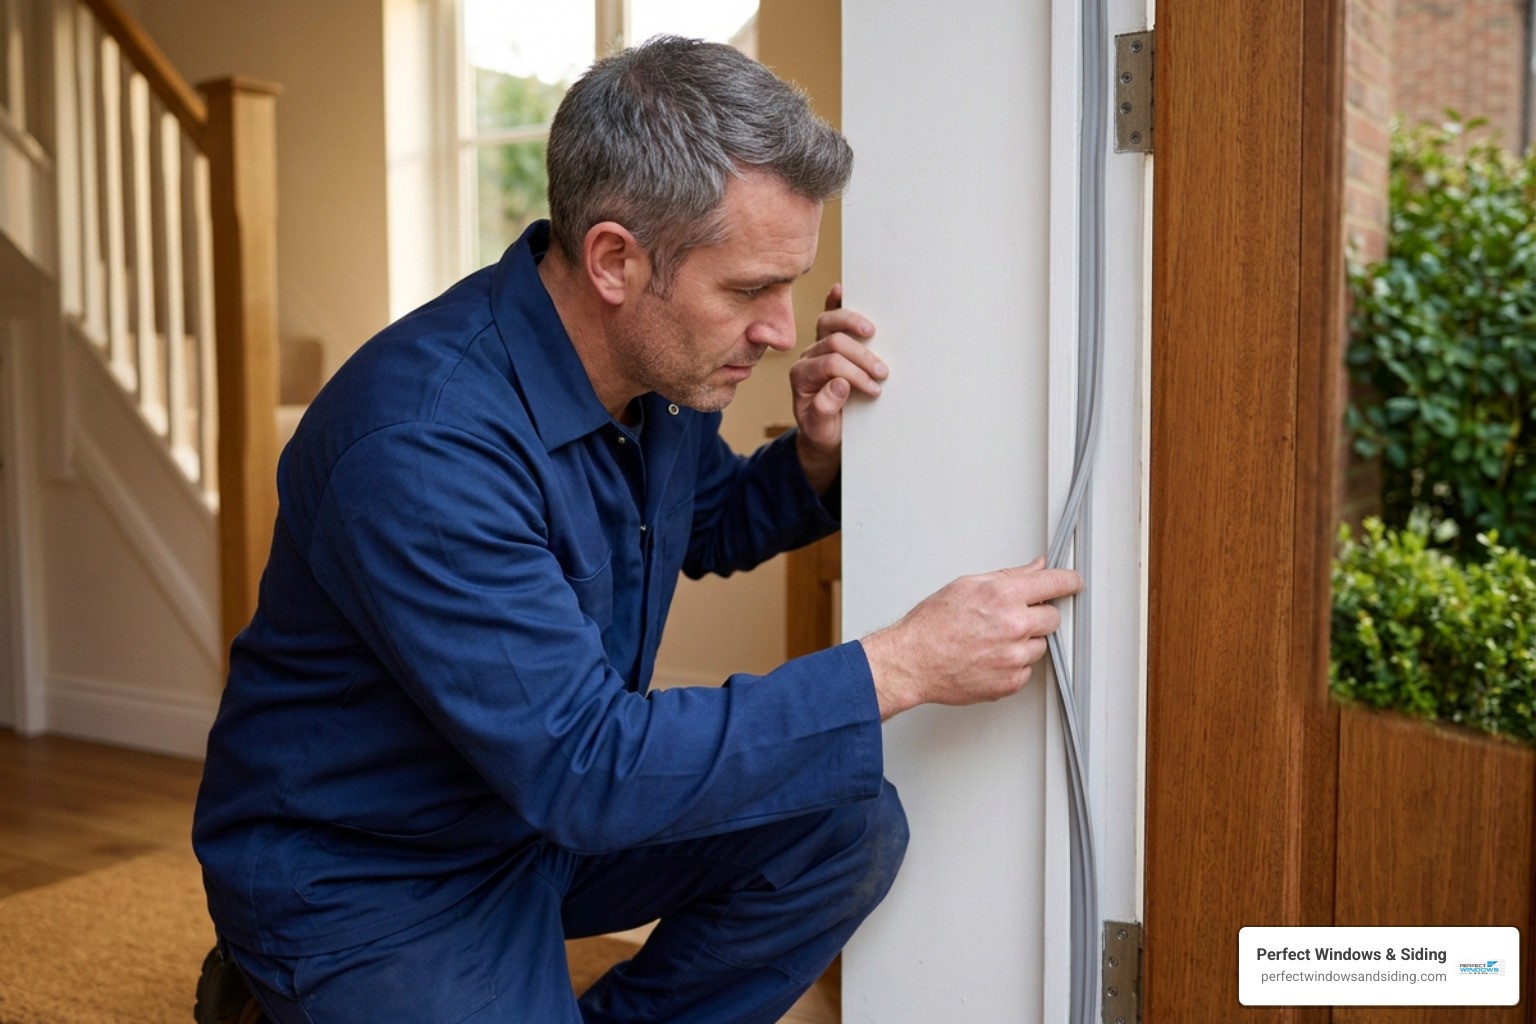
Signs Your Marvin Door Weather Stripping Needs Replacement
Over time, daily exposure to harsh weather in regions like Des Plaines, Park Ridge, and Morton Grove causes exterior door seals to degrade. Recognizing the early signs of wear on your marvin door replacement weather stripping will help you protect your home against structural moisture damage and energy loss. Learning how to replace door weather stripping quickly keeps your interior living space sealed tight.
Key indicators that your door weatherstripping needs attention include:
- Drafts and Temperature Fluctuations: Feeling a noticeable chill near the door stiles or along the bottom threshold during windy winter days.
- Water Infiltration: Spotting moisture, water stains, or damp carpet around the interior frame corners and sill after driving rainstorms.
- Visible Cracking or Compression: Noticing brittle, cracked, missing, or permanently flattened rubber bulb seals and foam legs that no longer spring back when the panel opens.
- Light Infiltration: Seeing thin gaps of daylight streaming around the perimeter of the door frame when the door is latched shut.
- Rising Energy Bills: Unexplained increases in seasonal heating and cooling demand caused by warm or cool conditioned air constantly leaking outside.
Identifying Your Model for Marvin Door Replacement Weather Stripping
Before selecting new seals, you must properly identify your door model and production year. Marvin builds long-lasting doors, but profile specifications evolved across different generations. You can browse specific OEM components using resources like Marvin Door Weatherstrip for Hinged Doors once you know your unit’s serial information.
Use these primary identification methods:
- Glass Etchings (Post-November 2003): Look closely at the corner of the interior glass pane. Units built after November 2003 display a laser-etched Marvin logo along with a full serial number, plant code, and manufacturing date code.
- Spacer Bar Engravings (Pre-November 2003): Inspect the metallic, silver-colored spacer bar positioned inside the insulated glass unit between the panes. Older Marvin doors feature an engraved brand name and a two-digit year identifier (for instance, “98” indicates 1998).
- Serial Identifier Lookup: Record the serial number printed on the glass etching and provide it to an authorized dealer to retrieve your exact door configuration specifications.
Choosing the Right Marvin Door Replacement Weather Stripping Profile
Marvin door seals are precisely engineered for specific locations on the unit. Installing an incorrect profile can lead to drafty gaps or prevent the door panel from latching properly.
- Bulb Frame (V796): Designed primarily for frame jambs on clad inswing wood doors. Available in standard 92-7/8″ lengths in beige or black.
- Stile Seal (V020 / V780): Installed along vertical meeting stiles and edge channels on outswing French doors and inactive panels.
- Primary Door Sweep (V1890 / V302): Attached directly along the bottom rail of active door panels to create a snug seal against the threshold.
- Jamb Frame (V2396): Utilized for head jambs and parting stops across various patio and French door designs, serving as an updated replacement for discontinued older profiles like V735.
Handing and Inswing vs Outswing Door Differences
Determining handing correctly ensures your replacement bottom sweep or interlock fits properly. Always view the door from the outside looking in:
- Left-Hand (LH): The hinges are located on the left side of the frame from the exterior.
- Right-Hand (RH): The hinges are located on the right side of the frame from the exterior.
Operation style also affects weather seal geometry. Inswing doors pull inward, utilizing frame bulb seals designed to compress as the door latches into place. Outswing doors push outward toward the weather, requiring specialized drip channels, stile seals, and sloped threshold sweeps to prevent wind-driven rain from bypassing the perimeter seals. Reviewing detailed Modern Inswing Installation 19916243 schematics helps visualize how these components lock out moisture.
Tools, Materials, and Component Overview
Preparing for a marvin door replacement weather stripping project requires basic hand tools and the proper replacement seals. Reviewing general weather stripping 101: keep the cold out and the cozy in concepts provides a great baseline before you get started.
Essential Tools & Supplies:
- Flathead screwdriver or plastic putty knife
- Needle-nose pliers
- Heavy-duty utility knife or sharp shears
- Mild dish soap and clean microfiber cloths
- High-grade 100% silicone sealant (for frame end dams)
- Isopropyl rubbing alcohol
| Weatherstrip Profile Code | Component Application | Standard Colors | Primary Door Compatibility |
|---|---|---|---|
| V796 | Jamb Frame Bulb Seal | Beige, Black | Clad Inswing Wood Doors |
| V020 | Meeting Stile Seal | Beige, Black | Outswing French Doors |
| V1890 | Bottom Rail Door Sweep | Beige | Elevate / Integrity Active Doors (3-0, 2-8, 2-6) |
| V2396 | Head Jamb / Parting Stop | Beige, Black | Modern Sliding & Hinged Patio Units |
| V302 | Universal Bottom Sweep | Beige | Standard Inswing Wood Door Panels |
Step-by-Step Installation Process
Refreshing worn door seals restores maximum thermal performance and operational smoothness. Follow this guided step-by-step procedure:
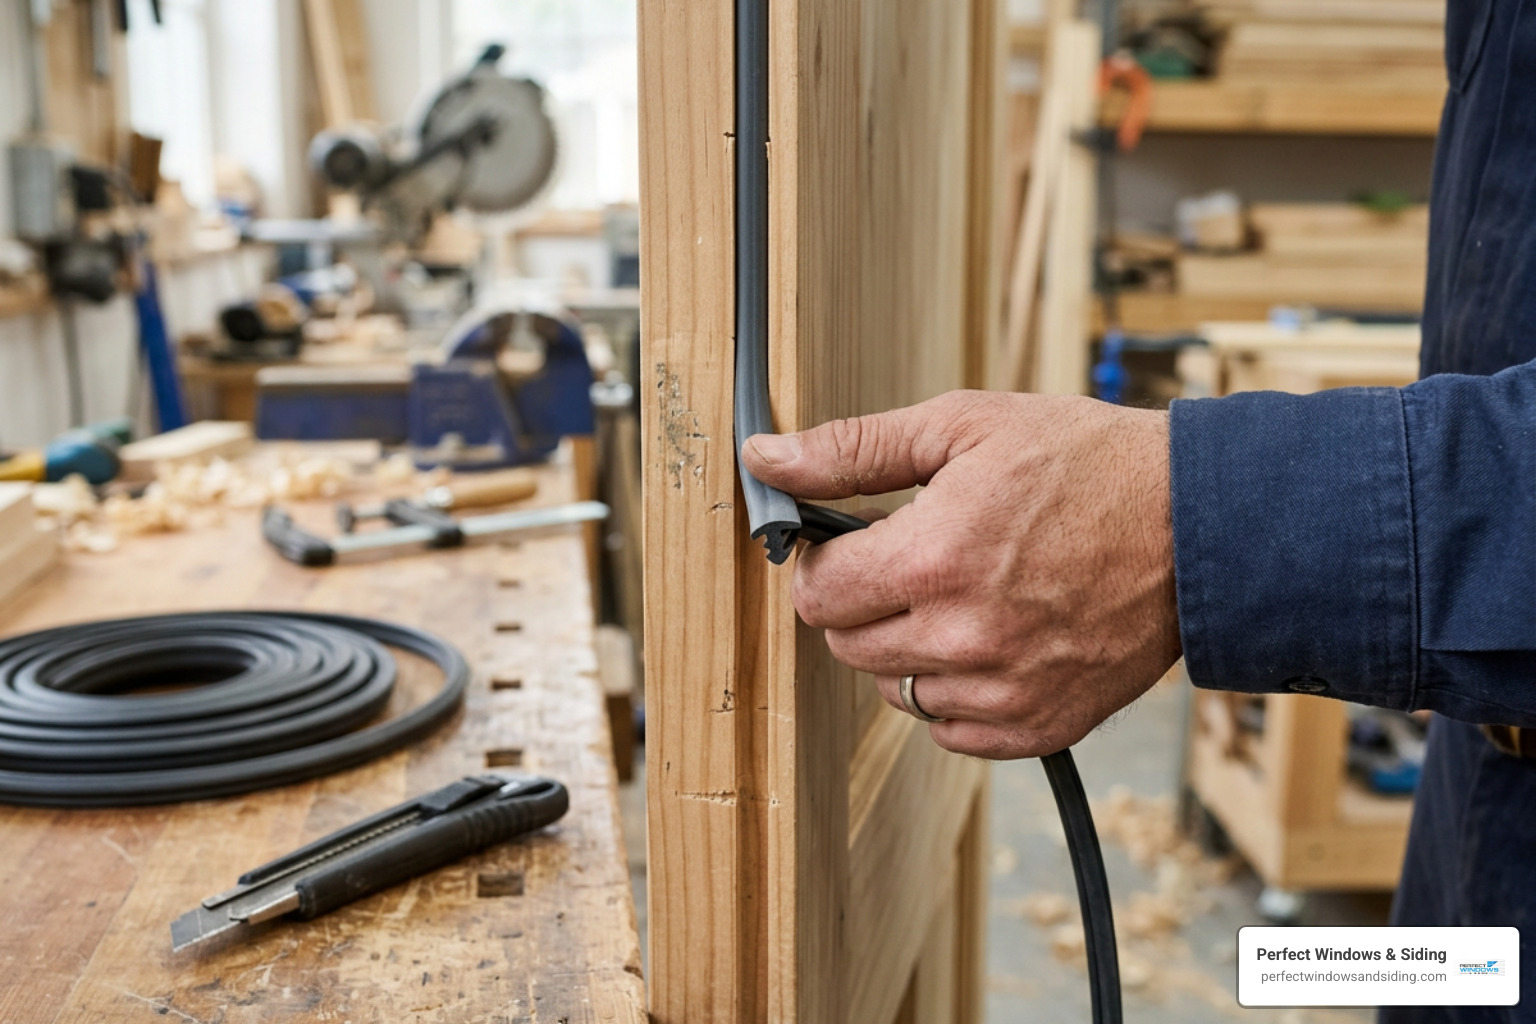
- Remove Old Weatherstripping: Carefully pull the worn strip away from the wood or fiberglass frame. If the backing is tightly wedged in the channel, use needle-nose pliers to gently pull the rigid barbed leg out without damaging the surrounding wood millwork.
- Clean the Kerf Channel: Wipe dirt, debris, and old adhesive out of the narrow kerf slot using isopropyl alcohol and a small rag or brush. A clean channel allows the new weatherstrip barb to seat securely.
- Measure and Trim New Profiles: Lay the fresh weatherstrip next to the original piece. Mark the precise length needed and trim straight across using a sharp utility knife or shears.
- Press the Seal into Place: Starting at the upper corner of the frame, firmly press the flexible leg into the kerf channel. Work your way down the jamb, making sure not to stretch the rubber material as you push it in.
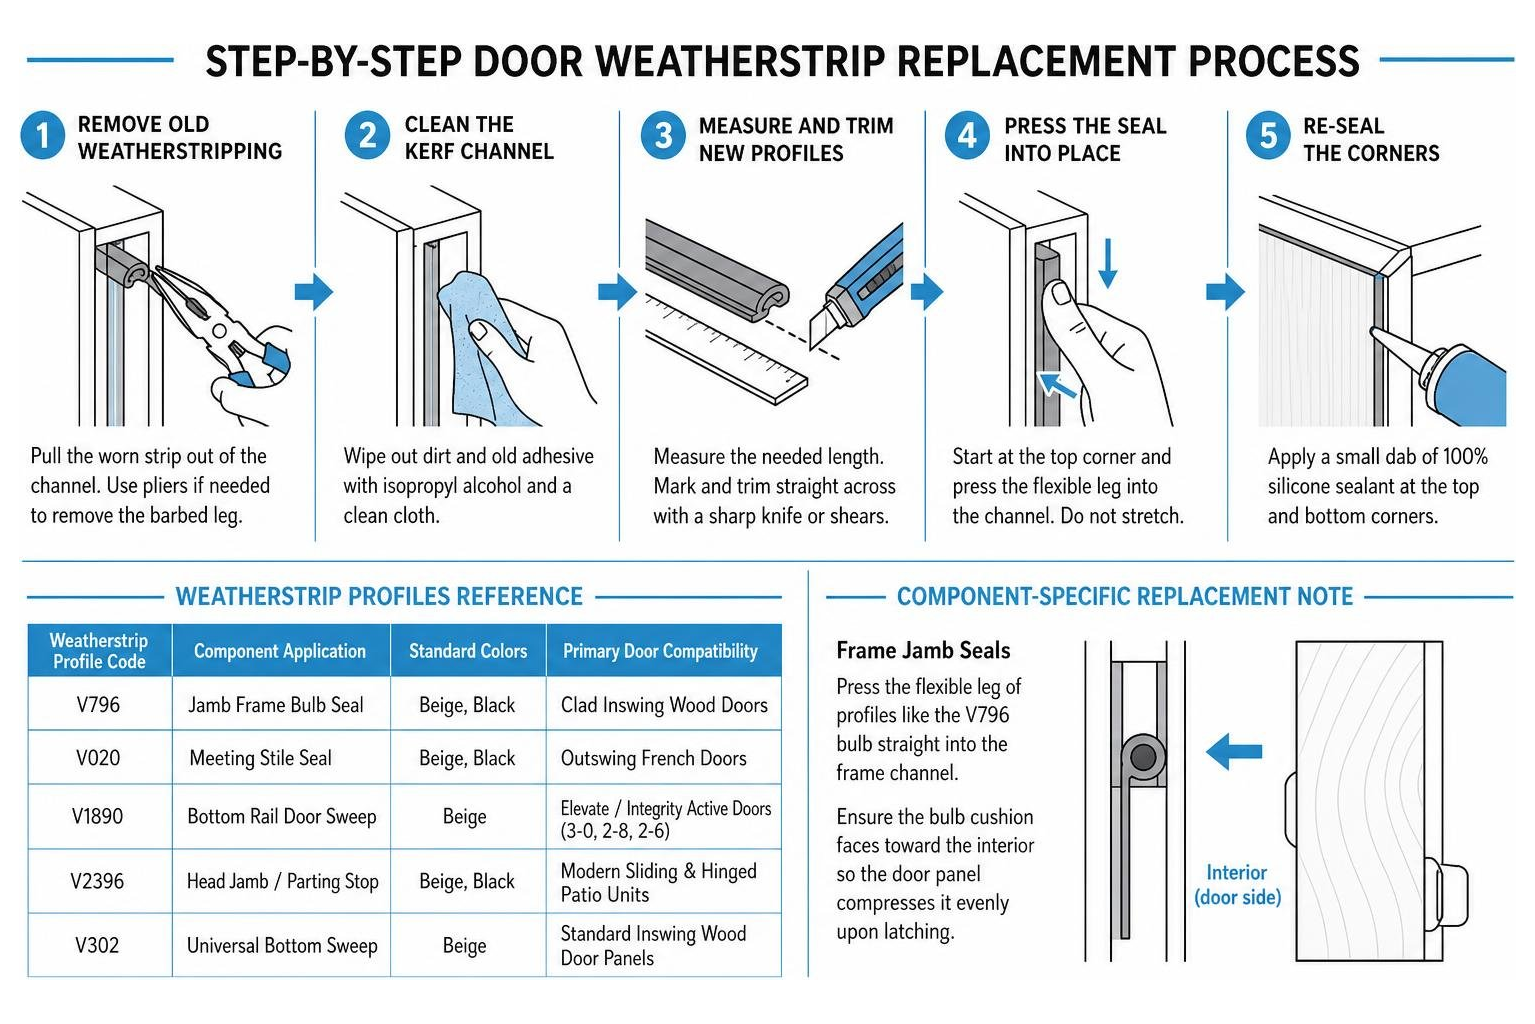
- Re-Seal the Corners: Apply a small dab of clear 100% silicone sealant at the top and bottom frame corners where vertical and horizontal bulb seals meet to establish a watertight barrier.
Hands-On Replacement Steps for Specific Components
- Frame Jamb Seals: Press the flexible leg of profiles like the V796 bulb straight into the frame channel. Ensure the bulb cushion faces toward the interior so the door panel compresses it evenly upon latching.
- Bottom Door Sweeps: Slide or snap handed sweeps (like the V1890) onto the bottom edge of the panel. Align the flexible fin extensions to sweep evenly across the threshold sill.
- Drip Panels & Sill Ramps: Install drip panels along the lower exterior surface of French outswing doors using matching corrosion-resistant screws to direct rain runoff away from the lower sill assembly.
Maintenance Tips to Extend Seal Lifespan
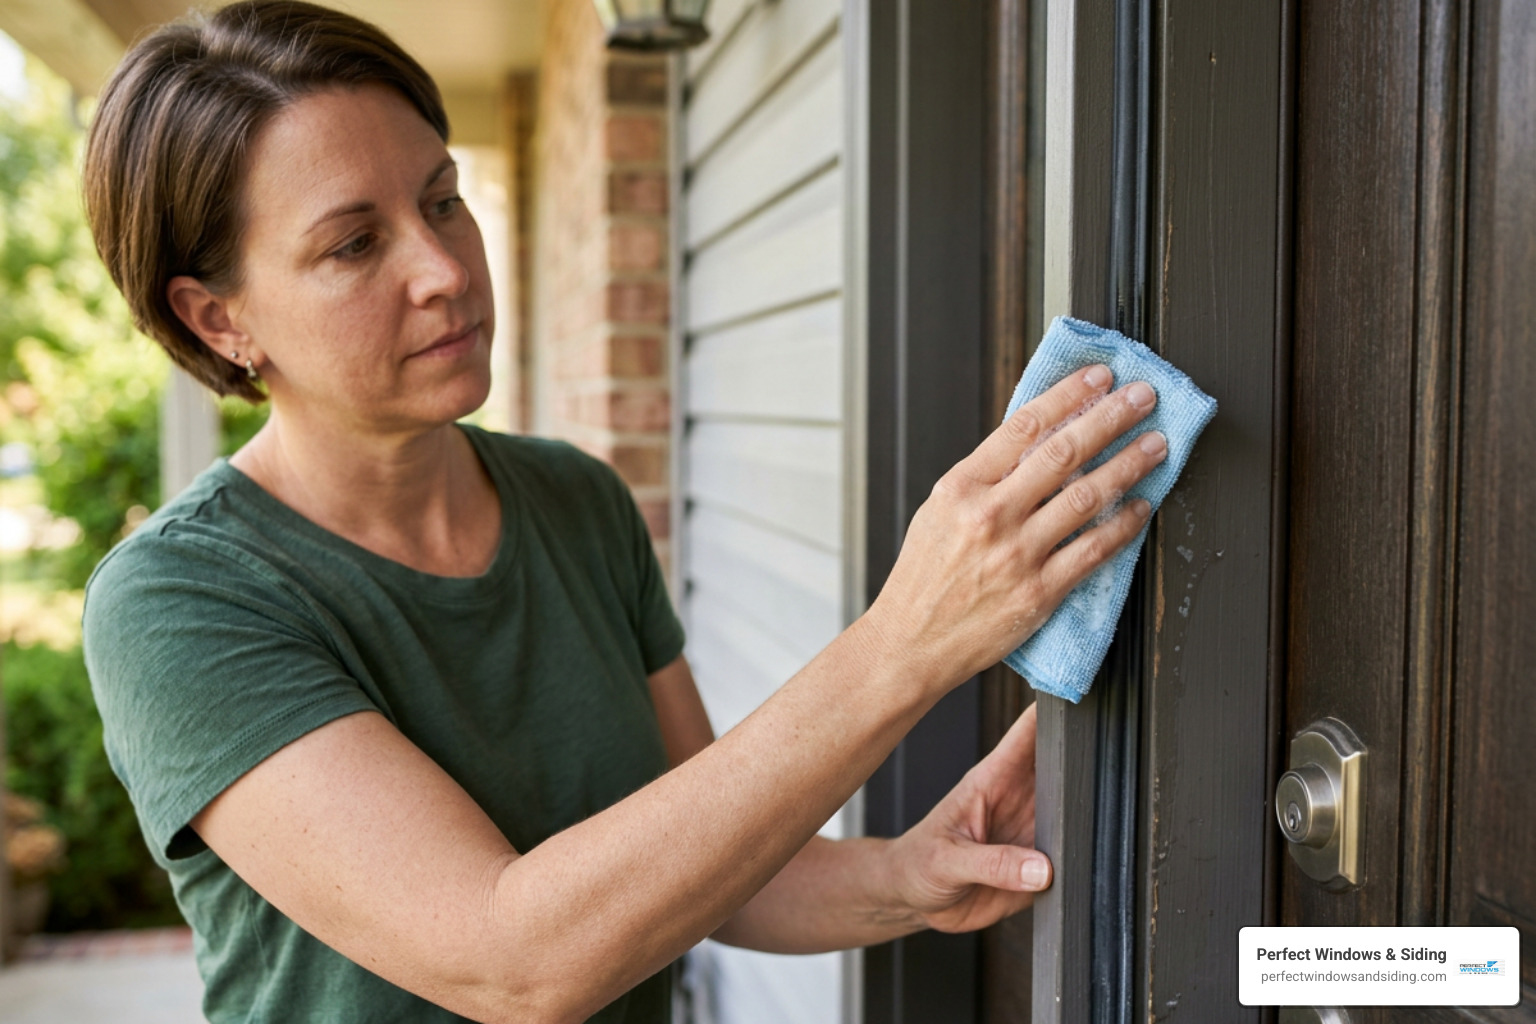
Proper routine care significantly extends the functional life of your marvin door replacement weather stripping:
- Regular Cleaning: Wipe down rubber bulb seals and flexible sweep fins twice a year with mild dish soap and warm water to remove grime, salt residue, and outdoor pollen.
- Conditioning: Apply a light coat of pure silicone spray or vinyl conditioner onto rubber bulbs twice yearly to maintain flexibility and protect against cracking in severe cold.
- Seasonal Inspections: Inspect perimeter seals every fall before cold winter winds arrive across Chicagoland. Address minor gaps promptly to prevent moisture buildup around frame sills.
Frequently Asked Questions
How do I know if my Marvin door was made before or after November 2003?
Inspect the interior side of the glass. Doors produced after November 2003 feature a permanent laser-etched Marvin logo alongside a plant code and serial number directly on the interior glass corner. Doors manufactured prior to November 2003 feature an engraved identifier on the metallic spacer bar running between the glass panes, ending in a two-digit manufacturing year (e.g., “96”).
How do I determine left-hand vs right-hand handing when ordering door sweeps?
Always stand on the outside of the door looking into the home. If the door hinges are located on your left side, you have a Left-Hand (LH) unit. If the hinges are located on your right side, it is a Right-Hand (RH) unit. Order door sweeps matched specifically to your panel handing, nominal panel width (such as 3-0, 2-8, or 2-6), and active vs. passive operation.
What should I do if my original Marvin weatherstrip profile code is discontinued?
Marvin updates its component profiles over time to enhance weatherproofing performance. Discontinued components often cross-reference directly to modern replacement profiles. For instance, legacy V735 parting stop weatherstrips are replaced by the modern V2396 jamb frame profile. A licensed door contractor or authorized supplier can cross-reference your door serial number to match the modern replacement seal.
Conclusion
Refreshing worn door seals provides long-term draft protection and helps preserve your door frame. Matching the correct profile code, door handing, and operational style ensures your entrance remains quiet, smooth-operating, and weather-tight across every season.
If your entry door exhibits severe frame misalignment, extensive rot around the threshold, or persistent water leaks, replacing individual seals may only offer a short-term fix. Choosing complete window replacement solutions or professional door installations ensures long-term comfort and security.
Our experienced team at Perfect Windows & Siding brings over 20 years of dedicated craftsmanship to homeowners throughout Chicagoland, including Arlington Heights, Glenview, and Wilmette. As a local, family-owned business, we back our custom door installations with lifetime warranties to give you complete peace of mind.
Schedule your consultation today, and let our licensed door replacement specialists keep your home draft-proof and secure!