

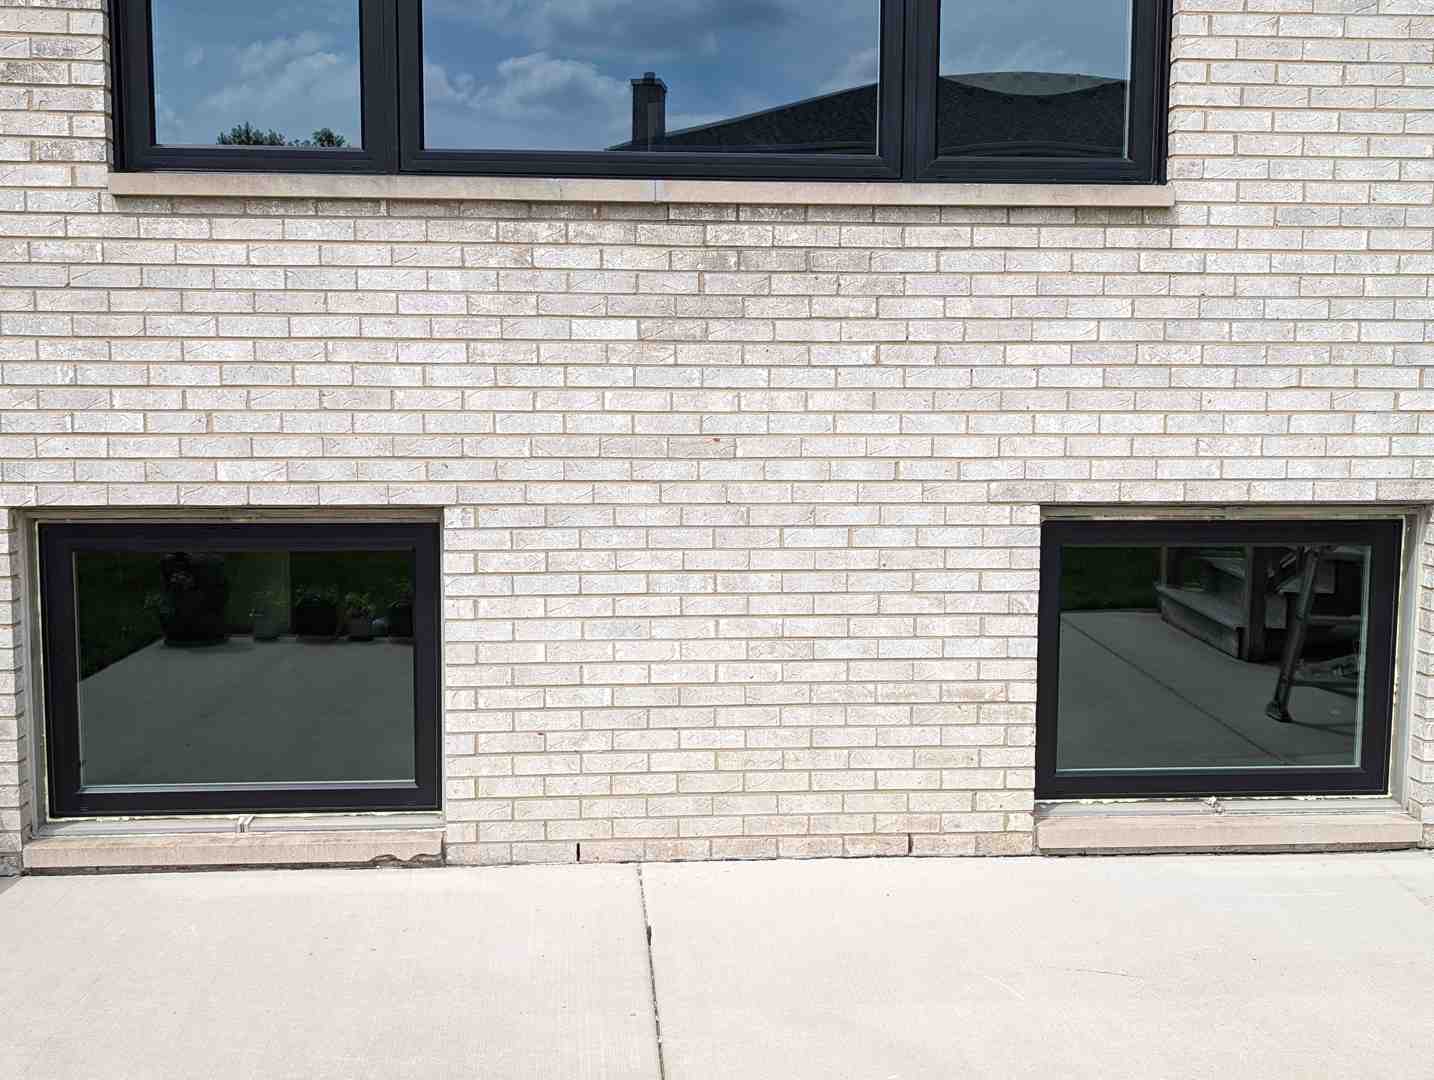
Why Basement Window Installation Matters for Chicago Homes
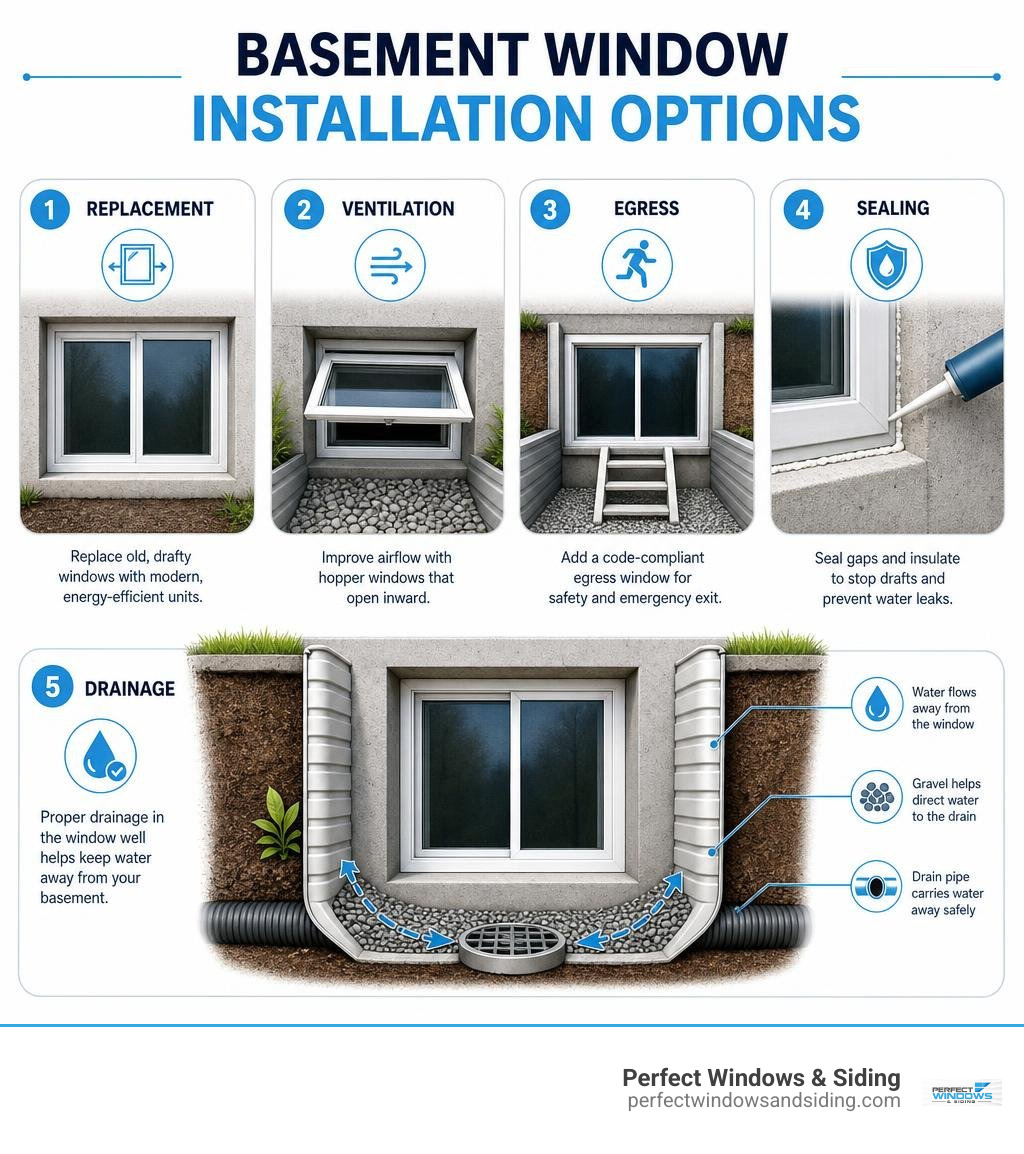
Basement window installation can improve comfort, reduce drafts, manage moisture, and make a below-grade space safer. For most homes, the right option depends on the existing concrete opening, the window well, ventilation needs, and whether the window must meet emergency-egress rules.
| Your goal | Common installation option |
|---|---|
| Replace a drafty or rusted old window | Full-frame replacement sized for the existing concrete opening |
| Improve airflow in a small window well | Hopper window that opens inward |
| Fit a wide, short opening | Sliding window |
| Create an emergency exit for a finished bedroom | Code-compliant egress window, often with a larger opening and window well |
| Stop recurring leaks | Window replacement paired with proper sealing, insulation, and well drainage |
Old single-pane windows lose about 30% more heat than modern double-pane units. Rusted frames, fogged glass, water stains, peeling paint, difficult operation, and visible gaps are all signs that a basement window deserves closer attention.
I’m Voytek Glab, owner of Perfect Windows & Siding. With more than 20 years of hands-on exterior remodeling experience in Chicagoland, I help homeowners make informed basement window installation decisions that protect their homes for the long term.
Basement window installation terms simplified:
Key Considerations Before Your Basement Window Installation Project
Before taking out tools or ordering materials, evaluating your basement’s specific structural conditions is essential. Below-grade installations face unique environmental challenges, including concrete moisture, freeze-thaw cycles, and ground water pressure. Modernizing your basement units prevents substantial thermal loss, since old single-pane glass loses approximately 30% more heat than energy-efficient double-pane glass, and stops foundation deterioration.
Several warning signs indicate your home is due for a new window:
- Corroded steel or rotted frames: Steel frames cast directly into concrete foundation walls eventually rust and split, creating structural gaps.
- Persistent moisture and draft intrusion: Unsealed perimeter gaps allow damp soil air and rain water to enter your basement.
- Operability issues: Sashes painted shut, warped jambs, or broken lock mechanisms reduce security and eliminate natural ventilation.
- Condensation between glass panes: Failed insulated glass unit (IGU) seals create fogged panes, destroying thermal efficiency.
When planning a basement window installation, choosing the right frame material ensures decades of worry-free operation. While old homes across Des Plaines, Wilmette, and Park Ridge often feature cast-iron or steel units, modern replacement options focus on durability:
- Vinyl frames: Extremely popular for below-grade applications because vinyl is completely moisture-resistant, will never rust, rot, or pit, and requires no painting.
- Composite and fiberglass frames: Exceptional structural rigidity and high insulation performance, standing up well against heavy ground moisture exposure.
- Aluminum frames: Strong and lightweight, though prone to heat transfer unless equipped with a thermal break.
| Window Style | Opening Direction | Ideal Location | Primary Advantage |
|---|---|---|---|
| Hopper | Inward from the top | Deep or tight window wells | Protects screen from debris; rain-resistant ventilation |
| Slider | Horizontally side-to-side | Wide, short masonry openings | Easy operation; maximizes horizontal glass area |
| Casement | Outward like a door | Deep window wells with ample clearance | Superior air seal; excellent for egress compliance |
If you plan to convert lower-level space into a legal bedroom or living space, safety rules require proper emergency exits. Under current International Residential Code (IRC) standards, emergency escape windows must provide a minimum net clear opening of 5.7 square feet, a minimum clear height of 24 inches, a minimum clear width of 20 inches, and a maximum floor-to-sill height of 44 inches. To learn more about safety compliance and excavation options, explore our detailed Egress Window Installation Complete Guide.
Comparing Types and Styles for Basement Window Installation
Selecting the best style for your concrete foundation depends on your space, safety goals, and exterior clearances.
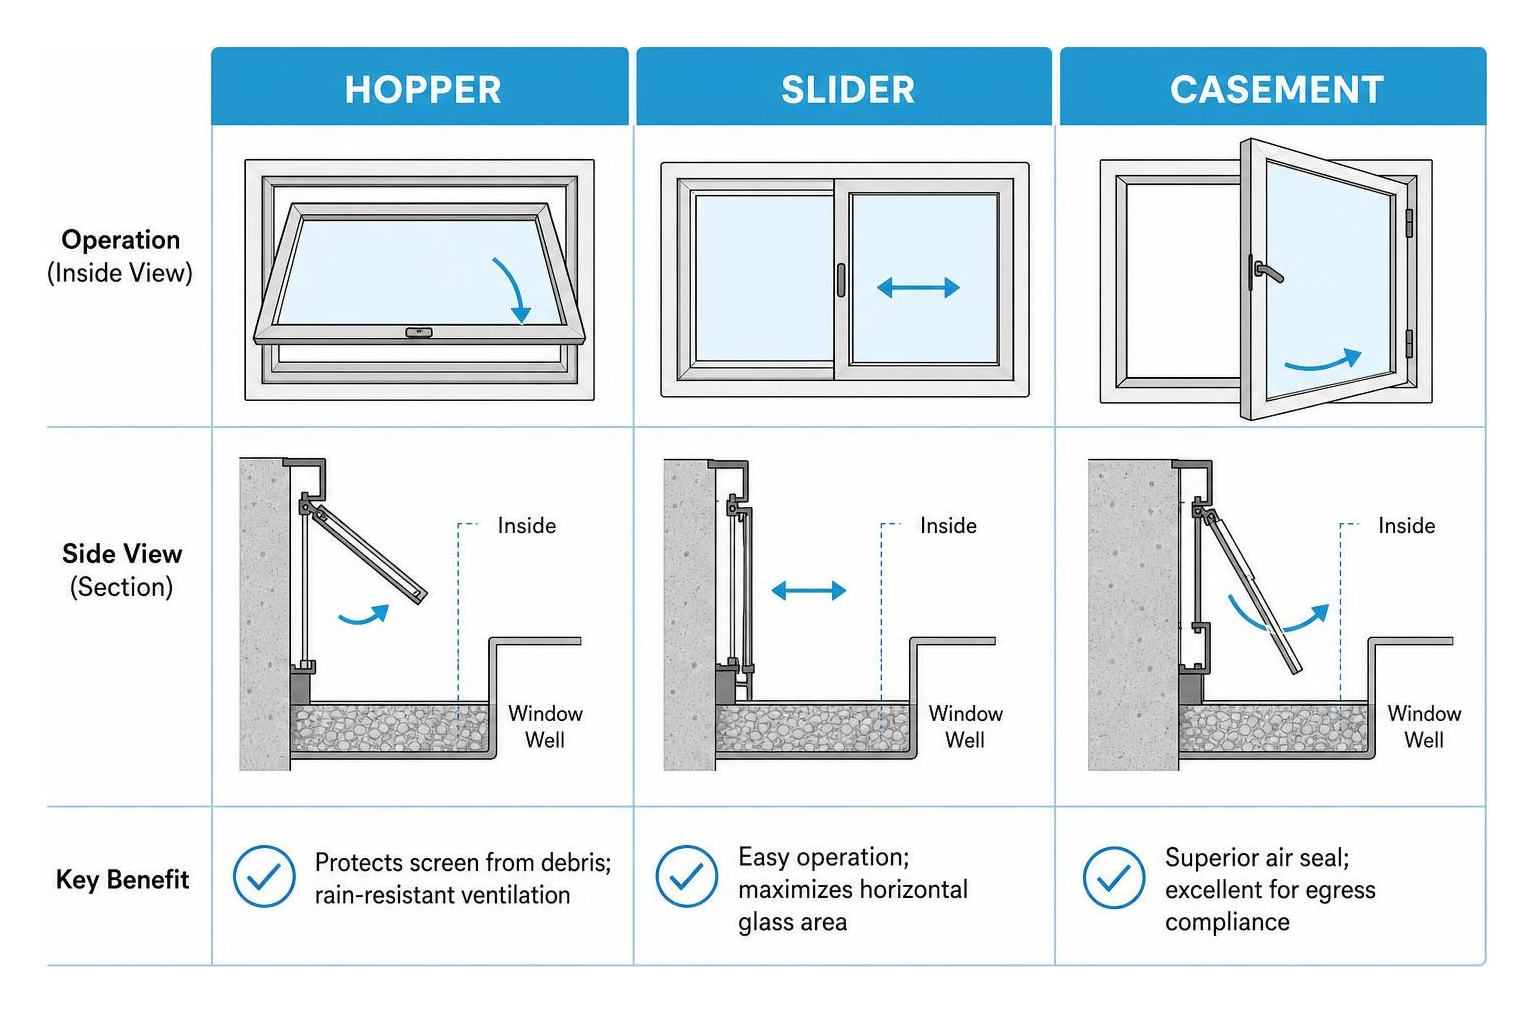
- Hopper windows: These fold inward from the top sash. Because they tilt into the home rather than pushing outward, they are ideal for window wells where outdoor clearance is limited.
- Slider windows: Featuring sashes that slide side-to-side on a track, sliding models fit broad, low-profile concrete buck openings and provide straightforward ventilation.
- Casement windows: Crank-operated casements swing outward on vertical hinges. They capture natural light and maximum air movement, making them a top choice for code-compliant egress conversions when window wells are wide enough.
Replacement vs New Construction in Basement Window Installation
Homeowners often ask whether an insert replacement or a new construction installation is necessary for below-grade masonry.
- Replacement (Insert) Installation: Used when the existing wood buck or clean concrete opening is structurally sound. The new frame fits directly into the existing opening, minimizing masonry work. You can read more about overall home window upgrades in our guide to window replacement.
- New Construction / Expansion Installation: Required when creating a brand-new opening in a solid concrete wall or expanding a small utility opening for emergency exit compliance. This process requires heavy equipment, cutting through poured concrete or cinder block, installing a load-bearing lintel or header, and integrating exterior waterproofing membranes.
For broader industry insight on window technologies and thermal performance, consult building-code and manufacturer guidance before choosing a basement window system.
Tools, Safety, and Measuring Concrete Openings
Accurate measurements and proper equipment make the difference between a seamless project and an improper fit that leaks during heavy rains.
Accurate Measuring Protocols for Concrete Foundation Openings
Measuring a concrete foundation opening requires measuring the bare masonry, not the existing trim or old window sash. Poured concrete walls in older homes across Morton Grove and Skokie can settle unevenly over time, so precision is key.
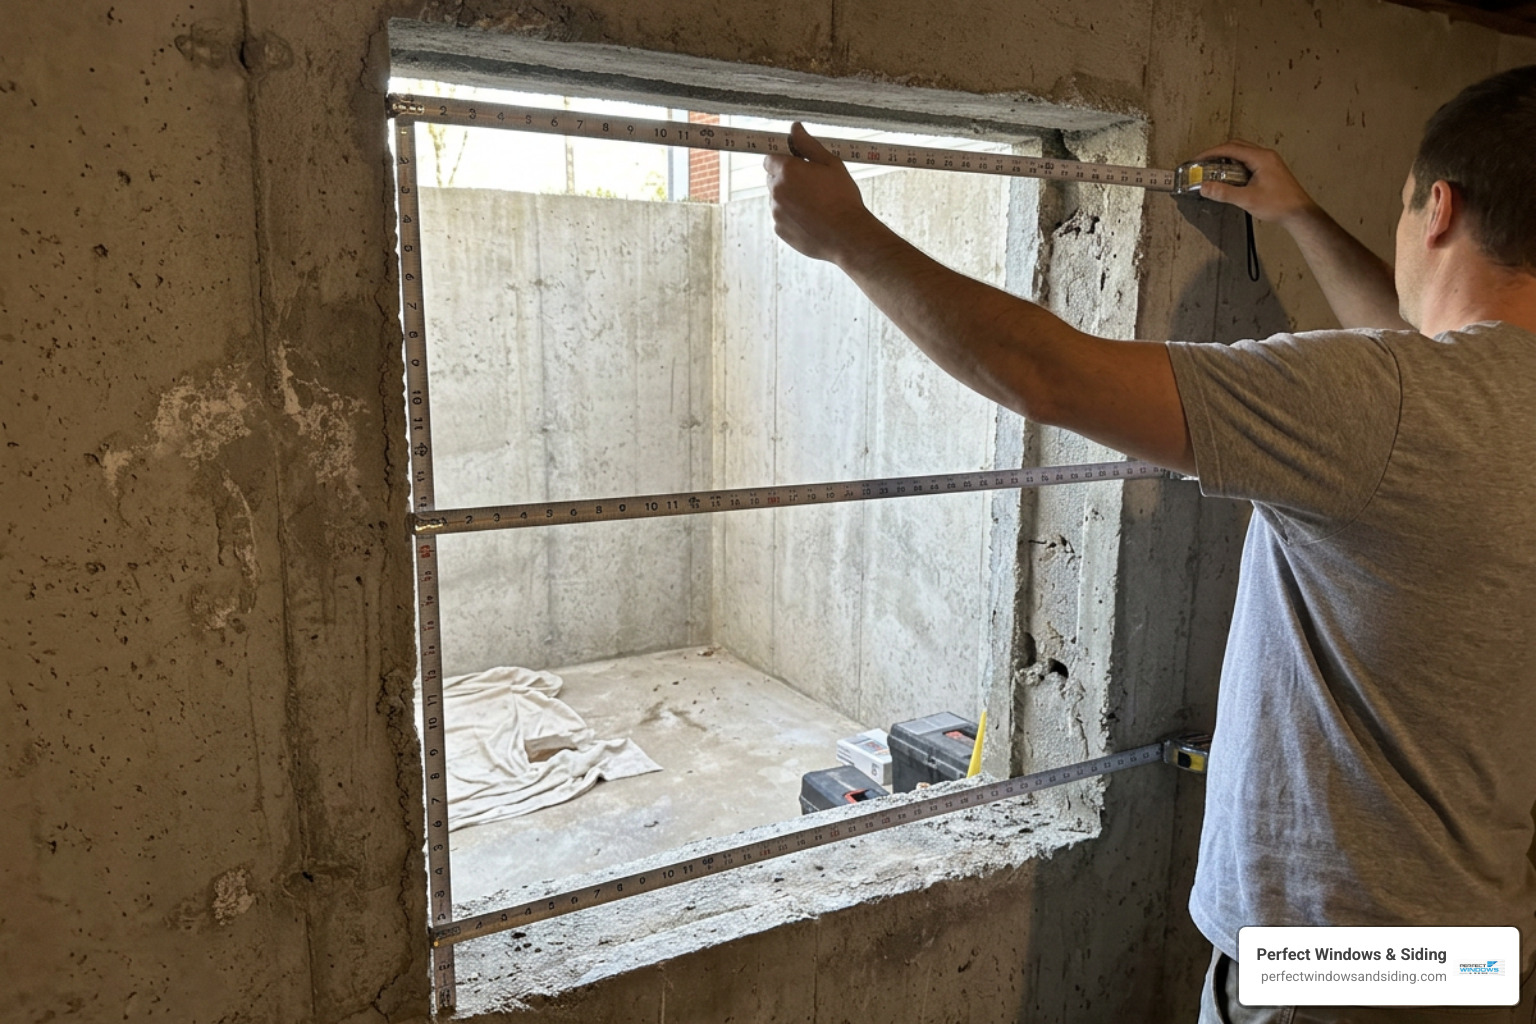
- Width measurement: Measure the horizontal distance between concrete walls at three points: top, middle, and bottom. Record the smallest of the three dimensions.
- Height measurement: Measure the vertical distance from the bottom concrete sill to the top masonry header at three points: far left, center, and far right. Record the smallest dimension.
- Squareness check: Measure diagonally from the top-left corner to the bottom-right corner, and from the top-right corner to the bottom-left corner. If the two diagonal figures differ by more than 1/8 to 1/16 of an inch, the opening is out of square and will require precision shimming.
- Sizing deduction: Subtract 1/4 inch to 1/2 inch from your smallest width and height measurements. This sizing tolerance allows room to plumb, level, and square the window with composite shims while leaving space for insulating foam and sealant expansion.
Required Equipment and Safety Gear for DIY Projects
Working with concrete, glass, and old metal frames presents safety hazards. Ensure you have the following personal protective equipment (PPE) and tools before starting:
- Safety PPE: Z87+ rated safety glasses, heavy-duty leather work gloves, ear protection, and a NIOSH-approved respirator (especially important for dust control when working with old painted frames or cutting masonry).
- Demolition tools: Reciprocating saw with metal-cutting carbide blades, heavy pry bar, hammer, masonry cold chisel, wire brush, and shop vacuum.
- Installation tools: Masonry hammer drill, 3/16-inch or 5/32-inch masonry drill bits, level, tape measure, caulking gun, utility knife, and composite shims (avoid wood shims which rot from ground moisture).
- Fasteners & Sealants: Double-threaded Tapcon concrete screws, low-expansion window and door polyurethane spray foam, foam backer rod, self-adhering flashing tape, and high-performance exterior polyurethane caulk.
How to Safely Remove Embedded Steel and Aluminum Frames
Removing original steel or aluminum windows cast directly into poured concrete walls is often the most challenging part of a basement project.
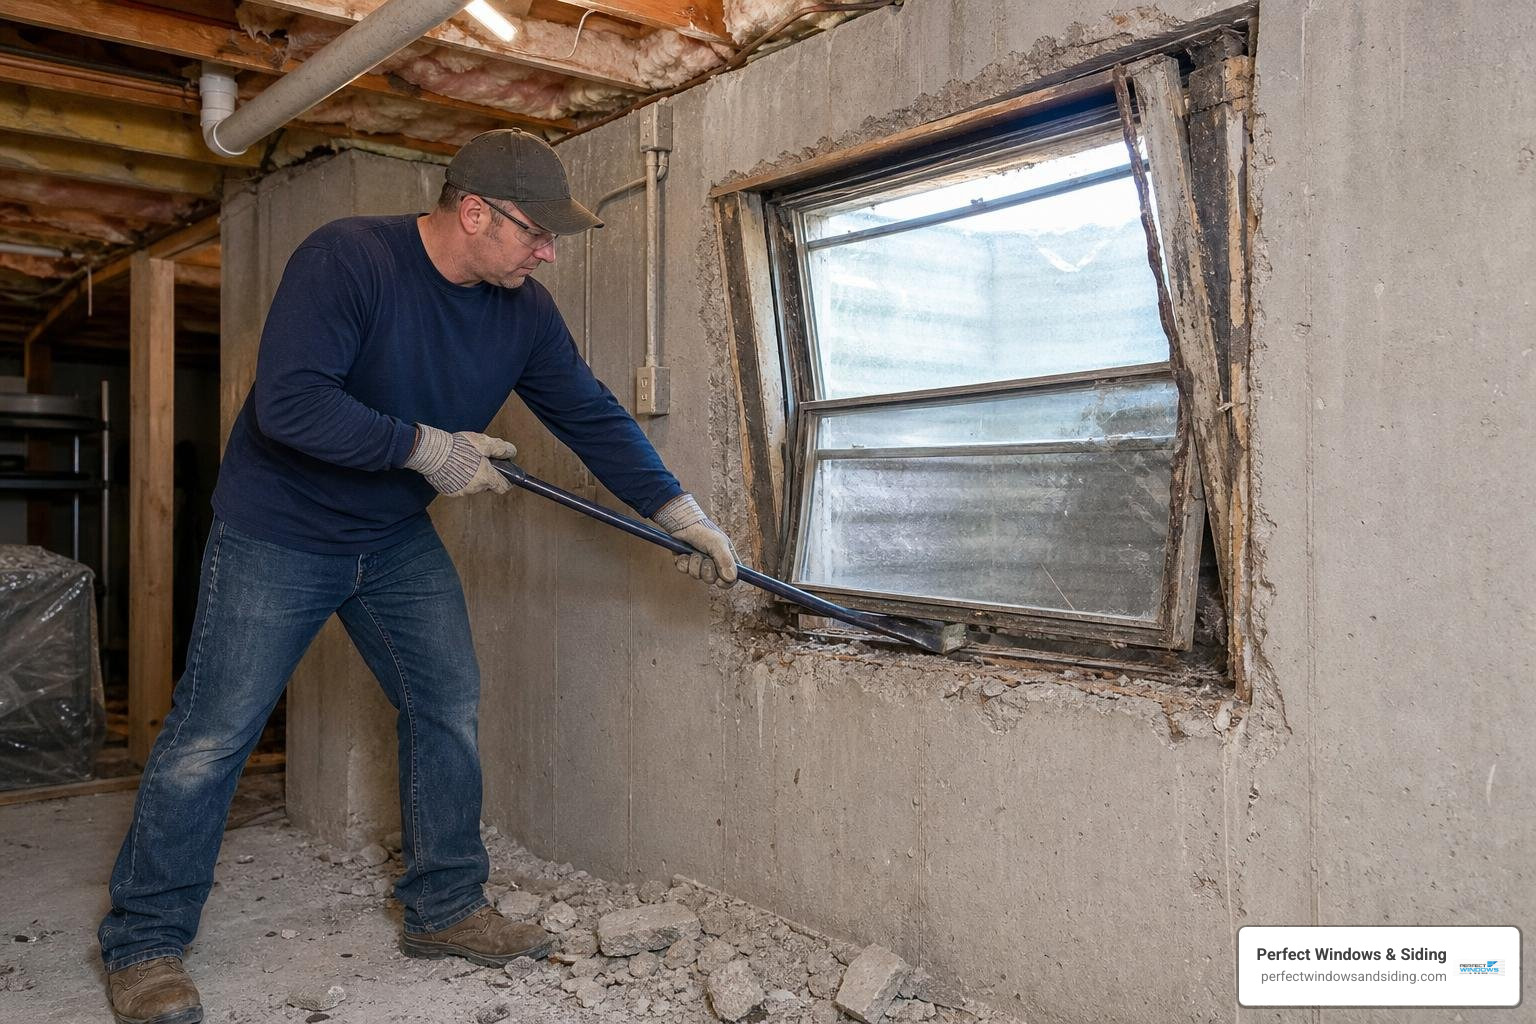
- Sash and glass removal: Safely remove sliding or hinged sashes. If the glass is loose or cracked, tape across the pane with heavy duct tape to prevent shattering, then remove glazing beads or hinges to lift out the glass.
- Relief cuts: Old steel frames are locked firmly into concrete channels. Use a reciprocating saw fitted with a metal-cutting blade to make two vertical relief cuts through the bottom track of the metal frame, approximately 2 to 3 inches apart.
- Prying out the frame: Insert a cold chisel or heavy pry bar into the relief cut. Lever the metal inward toward the interior of the basement. Breaking the tension along the bottom track allows you to work around the jambs and pull the metal frame away from the concrete wall.
- Opening preparation: Use a hammer and cold chisel to chip away loose mortar, rust scale, and jagged concrete ridges. Thoroughly scrub the concrete perimeter with a wire brush to remove dirt, flaking paint, and dust. Vacuum the surface completely with a shop vacuum to ensure sealants adhere securely. If deep cracks or pitted voids exist on the sill, patch them with hydraulic cement and let cure.
Step-by-Step Concrete Basement Window Installation Process
With the rough concrete opening clean, square, and dry, you are ready to begin the basement window installation.
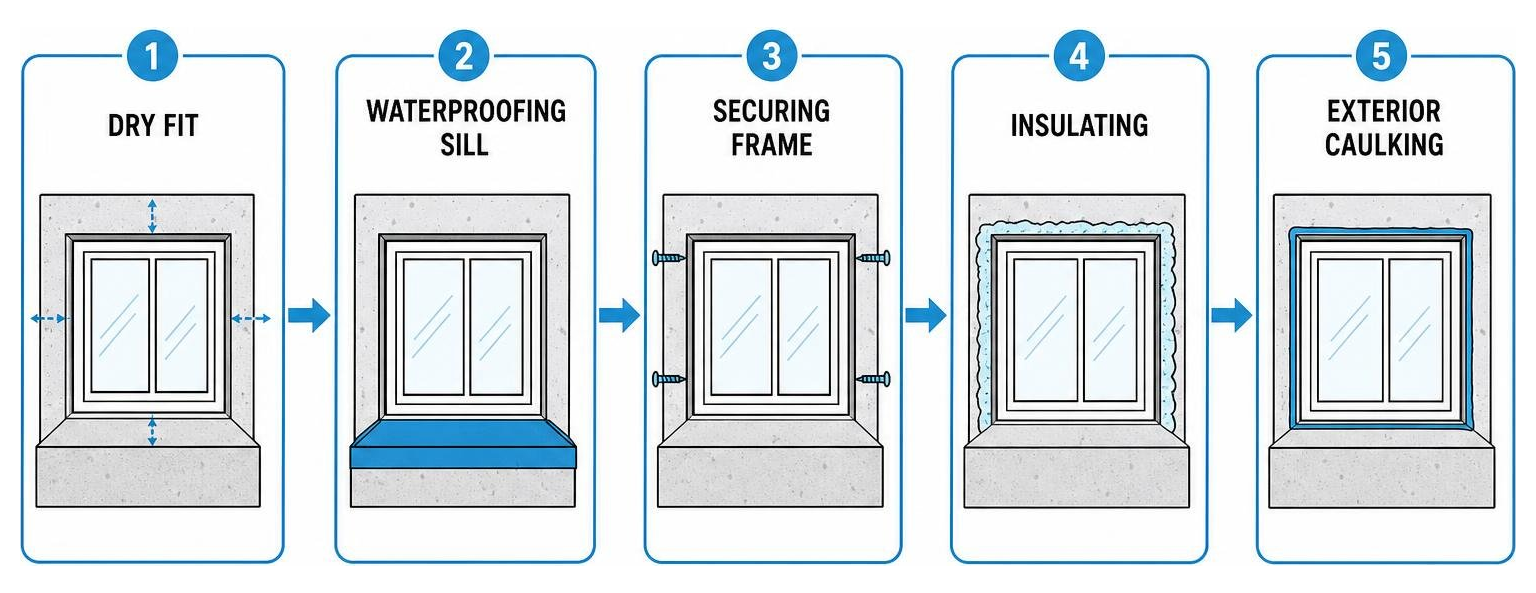
Preparing and Securing the New Window Frame
- Dry-fit test: Lift the new vinyl or composite window into the concrete opening before applying sealants. Verify that you have an even gap of approximately 1/8 to 1/4 inch around all sides and that the window frame sets flat.
- Waterproof sill prep: Apply self-adhering flashing tape across the concrete sill, extending 2 to 3 inches up the vertical jambs. Apply a continuous 3/8-inch bead of polyurethane sealant along the exterior concrete stop where the back of the window frame will seat.
- Set and level the unit: Place the window unit into the opening right side up, ensuring exterior weep holes face outward at the bottom. Insert rot-resistant composite shims beneath the bottom frame and along the sides near mounting holes. Check the frame with a level to confirm it is plumb, level, and square diagonally within 1/8 inch.
- Anchor into concrete: Open or remove the sashes to access factory pre-drilled installation holes in the side jambs. Using a hammer drill with a masonry bit, drill pilot holes through the frame holes into the concrete wall. Drive double-threaded Tapcon masonry anchors through the frame and shims into the foundation wall. Do not over-tighten, as excessive torque can bow vinyl jambs and bind sash movement.
Sealing and Insulating for Draft and Water Prevention
A secure frame is only as good as its thermal and moisture seal. Proper insulation prevents cold winter drafts and keeps damp ground air from entering your living space.
- Low-expansion insulation: From the interior, fill the perimeter gap between the window frame and concrete wall using dedicated low-expansion polyurethane foam formulated specifically for windows and doors. Standard high-expansion foam can warp vinyl frames and prevent the sashes from opening or locking.
- Backer rod application: On the exterior, if perimeter gaps exceed 1/4 inch, insert a flexible foam backer rod into the channel. This creates a solid backstop for sealants and allows proper expansion and contraction.
- Exterior polyurethane sealant: Apply a continuous, generous bead of exterior silicone or polyurethane caulk around the outer perimeter where the vinyl window frame meets the concrete wall or window well. Tool the caulk line smooth with a wet finger or sealant tool to force the material firmly into concrete pores. Ensure you never block or cover the exterior weep holes along the bottom edge of the frame.
- Window well drainage: Inspect your outdoor window well. Ensure the gravel bed consists of clean, washed 3/4-inch stone that sits below the window sill, allowing rain water to drain away from the foundation rather than pooling against the glass.
For additional steps on residential window projects and weatherization techniques, check out our Quality Window Installation Guide 2026.
DIY vs Professional Installation: When to Hire an Expert
While replacing a standard window in an existing, undamaged concrete frame can be a doable project for experienced DIYers, complex installations carry structural risks.
Consider working with a licensed contractor if your project involves:
- Concrete saw cutting: Enlarging foundation openings or cutting solid poured concrete walls requires commercial diamond-blade saws, structural shoring, and installation of load-bearing headers.
- Egress code compliance: Navigating local building codes in Chicagoland municipalities—such as Naperville, Glenview, or Arlington Heights—requires detailed plans, safety permits, and precise well dimensions.
- Waterproofing challenges: Persistent drainage problems, cracked concrete walls, or deep water table issues often require integrated drain tiles and specialized foundation membranes.
- Lifetime protection: Hiring an experienced team ensures long-term warranty protection, perfect air-sealing craft, and single-day project completion.
Learn more about how our licensed and insured crews handle complex installations by visiting our page on Expert Window Installation Services for Your Home.
Frequently Asked Questions About Basement Windows
How long does a basement window replacement take?
For a standard like-for-like replacement in an existing concrete opening, a professional installer typically completes the job in 2 to 4 hours per window. DIY installations may take a full day, especially when cutting out embedded steel frames. Full egress window installations that require exterior excavation and concrete saw cutting usually require 1 to 2 days.
Do I need a permit to replace a basement window?
Replacing an existing basement window with a new unit of the same size usually falls under minor maintenance and does not require a permit in most local Chicagoland communities. However, if you are enlarging an opening, cutting into foundation concrete, or installing an egress window to convert a basement area into a bedroom, local building permits and safety inspections are mandatory.
How do I keep my new basement window from leaking?
Preventing leaks requires a combination of proper window sealing and effective exterior drainage:
- Apply a high-grade polyurethane caulk around the entire exterior frame-to-concrete seam.
- Keep exterior weep holes clean and free of dirt or leaves.
- Maintain your window well by filling it with 4 to 6 inches of washed gravel and installing a sturdy window well cover to shed rain away from the glass.
- Ensure surrounding garden soil slopes away from your home’s foundation wall.
Conclusion
A successful basement window installation transforms a dark, drafty below-grade space into a dry, well-ventilated, and safe area of your home. By taking accurate measurements, removing old rusted metal frames safely, choosing durable vinyl or composite materials, and applying high-performance air and water seals, you protect your foundation against water intrusion while reducing drafty air leaks.
At Perfect Windows & Siding, we bring over 20 years of hands-on exterior installation experience to homeowners across Chicagoland, including Des Plaines, Park Ridge, Morton Grove, Skokie, and surrounding communities. As a local, family-owned business, we focus on exceptional craftsmanship, custom-fitted products, and long-term reliability backed by lifetime warranty protection.
Ready to upgrade your basement with energy-efficient windows? Contact our expert team today to Schedule your consultation and Get a free estimate for your home project.