

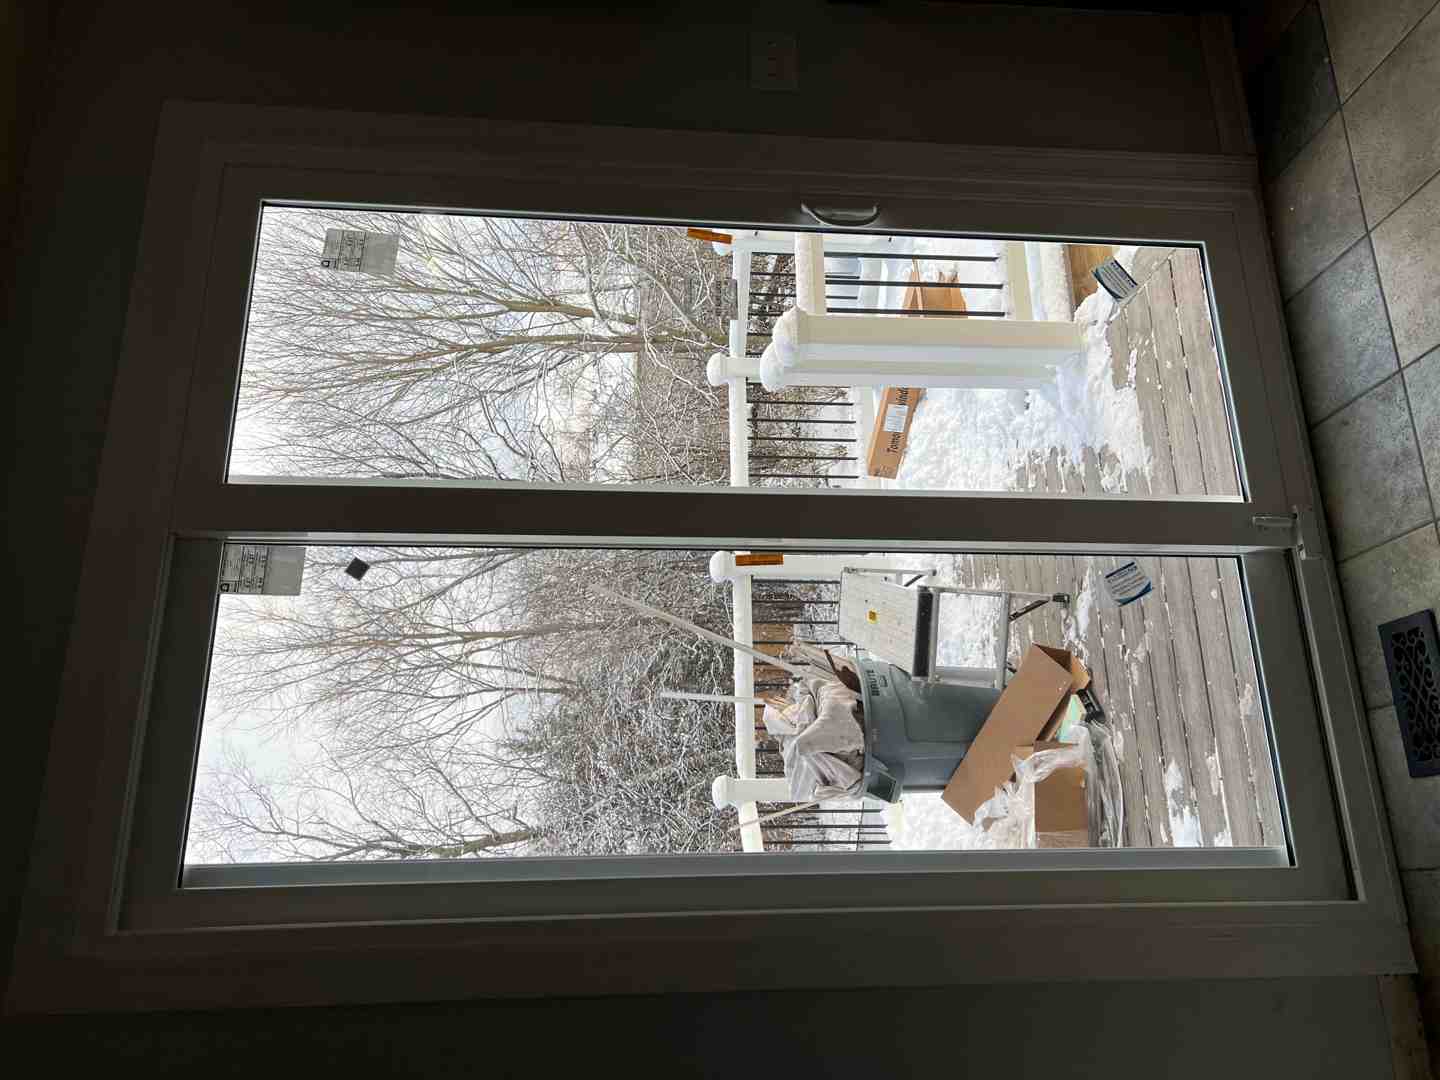
Why an Andersen Sliding Door Weather Stripping Replacement is Key to Your Home’s Comfort
Planning an andersen sliding door weather stripping replacement is the single best way to stop cold drafts from ruining your home’s comfort. When your door’s seal fails, your heating and cooling systems have to work twice as hard to keep up with the weather.
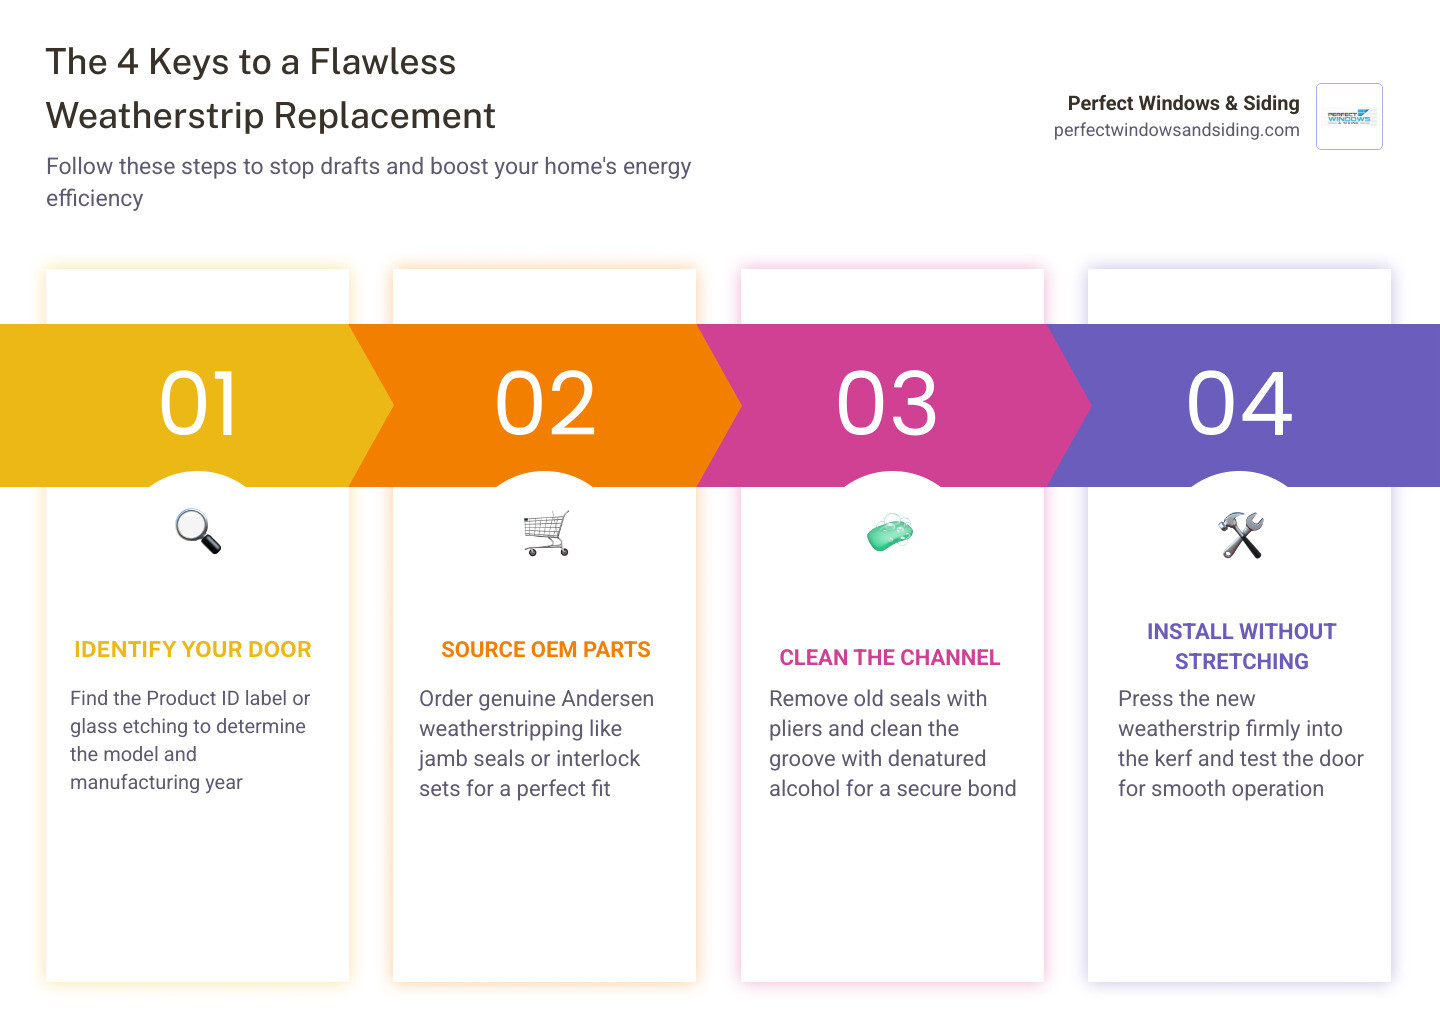
If you want a quick answer on how to tackle this project, here is the basic process:
- Identify the vintage: Look for the Product ID label on the top head jamb or check the glass logo etching to find your door’s model and manufacturing year.
- Order matching parts: Purchase genuine OEM Andersen weatherstripping (such as jamb seals, interlock sets, or bottom rail fillers) to ensure a perfect fit.
- Prep the channel: Pull out the old, worn weatherstripping with needle-nose pliers and clean the empty groove thoroughly with denatured alcohol.
- Install the new seal: Press the new weatherstrip firmly into the frame channel (kerf) without stretching the material, then test the door’s operation.
I’m Voytek Glab, owner of Perfect Windows & Siding. With over 20 years of hands-on remodeling experience in the Chicago suburbs, I have helped countless local homeowners restore their patio doors with a proper andersen sliding door weather stripping replacement.
Common andersen sliding door weather stripping replacement vocab:
Identifying Your Andersen Sliding Door Model and Vintage
Before ordering any replacement parts, we need to solve a quick mystery: What exact Andersen sliding door do you have? Andersen has been manufacturing top-tier gliding patio doors for decades, and their weatherstripping profiles have evolved significantly over the years. Using the wrong vintage or series part will leave you with gaps that let the harsh winter wind slide right into your living room.
To pinpoint your door’s model and vintage, follow these steps:
- Locate the Product ID Label: For doors manufactured from 2007 to the present, look for a product identification label. This is typically located on the head jamb (the top of the frame) above the operating panel, or along the edge of the door panel itself. This label contains a unique code that tells us everything we need to know.
- Check the Glass Logo Etching: If your door was manufactured before 2007, it won’t have a modern product ID label. Instead, look closely at the corners of the glass. You will find a small, etched Andersen logo. The style of this logo and the numbers near it can help us identify the door’s vintage.
- Measure the Visible Glass Dimensions: Grab a tape measure and record the width and height of the glass you can actually see (do not include the frame). Standard visible glass widths for these doors often include 24 3/4″, 27 1/8″, 30 3/8″, 31 1/8″, or 43 1/8″. These measurements are incredibly helpful for narrowing down the exact door size (such as 6’8″, 6’11”, or 8’0″).
- Determine Door Handing: Stand on the outside of your home looking at the door. Determine which panel moves. If the operating panel is on your right and slides to the left, it has a specific handing compared to a left-operating panel.
- Check the Year Range: For example, the popular 200 Series Perma-Shield gliding patio doors have distinct parts for units manufactured from 1978 to 2000 compared to those made from 2000 to the present.
For more details on identifying your specific door and understanding how different vintages affect your replacement parts, you can consult the official guide on Replacing Window or Patio Door Weatherstrip .
Essential Tools and Sourcing Your Andersen Sliding Door Weather Stripping Replacement
Now that you know exactly which model is sitting in your door frame, it is time to gather your gear. This is a straightforward DIY project, but having the right tools on hand will make the difference between a quick, satisfying afternoon job and a frustrating weekend chore.
Here is what you will need to assemble:
- Putty Knife or Chisel: Essential for scraping away old adhesive, stubborn silicone, or dirt from the channels.
- Needle-Nose Pliers: Perfect for grabbing hold of the old, degraded pile or vinyl strips and pulling them out of their tracks.
- Utility Knife or Heavy-Duty Snips: Used to cut your new weatherstripping pieces to the exact length required.
- Denatured Alcohol and a Soft Cloth: This is our secret weapon for cleaning the empty channels to ensure the new adhesive bonds perfectly.
- Silicone Sealant: A high-quality, exterior-grade silicone sealant (applied in a precise 1/16-inch bead where specified) to keep moisture from sneaking behind the seals.
When it comes to sourcing your parts, we always recommend using genuine OEM (Original Equipment Manufacturer) Andersen components. While it might be tempting to pick up a roll of generic, universal foam tape, those generic options simply cannot replicate the performance of Andersen’s proprietary designs.
Andersen doors rely on highly specialized components like one-piece weatherstrip panel gaskets, bottom rail fillers, and interlock sets to achieve a complete, airtight seal. To understand why matching the exact proprietary profile matters so much for your home’s energy efficiency, read this deep dive on How to Replace Andersen Sliding Door Weather Stripping – Engineer Fix . For a broader look at how proper insulation protects your home, check out our guide on Weather Stripping 101 Keep The Cold Out And The Cozy In.
Step-by-Step Guide to Replacing the Weatherstripping
Replacing your weatherstripping is all about patience and preparation. If you rush through the cleanup phase, your new seals won’t seat correctly, and you will find yourself dealing with the exact same drafts a few weeks down the road. Let’s walk through the physical installation process step by step.
Removing the Old Seals and Preparing the Frame
The first step is to get the old, worn-out materials completely out of the way.
- Pull Out the Old Strips: Open your sliding door fully. Grab the end of the old side jamb or pile weatherstripping with your needle-nose pliers and gently pull it out of its groove (the “kerf”).
- Clear Out Fasteners: Inspect the channel closely. If your door is an older vintage, the weatherstripping may have been secured with staples, nails, or small clips. Use your pliers or a flat-blade screwdriver to remove every single one of these fasteners.
- Scrape Away Old Adhesive: Use your putty knife or a 1/4-inch chisel to carefully scrape out any leftover silicone, old vinyl-to-vinyl adhesive, or compacted dirt. Be gentle so you don’t gouge the vinyl cladding or wood frame.
- Clean the Channel: Dampen a soft cloth with denatured alcohol and thoroughly wipe down the inside of the empty channel. This removes remaining oils, grease, and dirt, leaving a pristine surface for the new weatherstripping to grip. Let it dry completely before moving to the next step.
Installing the Operating and Stationary Side Jamb Weatherstrip
With a clean frame, we can now install the new side jamb weatherstripping. This includes both the operating side jamb (where the door latches) and the stationary side jamb.
- Measure and Cut: Measure the length of your side jamb. Cut your new weatherstrip piece to match this length exactly using your utility knife or snips. Note: Never stretch the weatherstripping during measurement or installation, as it will eventually shrink back and leave gaps.
- Apply Weatherstrip Clips (If Applicable): If your specific model uses weatherstrip clips, apply them exactly 1 inch from the ends of each weatherstrip piece and crimp them securely without damaging the barbs.
- Press Into the Kerf: Align the end of the weatherstrip tight against the sill. Press the T-shaped backing of the weatherstrip firmly into the kerf (the groove in the frame). If using clips, tap the bottom clip gently into place first, then work your way upward, pressing the strip firmly into the groove along the entire length of the jamb.
- Verify the Fit: Ensure the weatherstrip sits flush and even within the channel, without any puckers or twisted sections.
Executing Your Andersen Sliding Door Weather Stripping Replacement for the Interlock
The interlock is where the magic happens—it is the vertical space where the operating panel and the stationary panel meet when the door is closed. This area is a prime target for drafts, making it a critical part of your andersen sliding door weather stripping replacement.
- Understand the Dual Replacement Rule: If you own a Perma-Shield 2-panel gliding patio door manufactured between 1978 and 2000, both the operating panel interlock weatherstrip and the stationary panel interlock weatherstrip must be replaced at the exact same time. Replacing only one side will prevent the panels from interlocking correctly.
- Remove the Old Interlock Set: Unscrew and remove the old vertical interlock weatherstrip pieces from both the operating and stationary meeting stiles. Clean the area thoroughly of all old silicone, staples, and debris.
- Pre-Drill and Install: Align your new interlock weatherstrip pieces. If you are working with older wood-core panels, pre-drill your screw holes to prevent splitting. Secure the new interlock strips using the provided screws.
- Install New Dust Plugs: Don’t forget the foam dust plugs! These small pads sit at the very top and bottom of the interlock to block air from bypassing the vertical seals. Swap out the old dust plugs for the fresh ones included in your replacement kit.
To see a detailed breakdown of this specific process for classic doors, refer to the official support article on how to Replace Interlock Weatherstrip on 2-Panel Perma-Shield Gliding Patio Door (1978 – 2000) . For more general tips on door seals, check out our guide on How To Replace Door Weather Stripping.
Replacing the Bottom Rail Filler and Sweep Fin
The bottom of your sliding door takes the brunt of the weather, dealing with rain, snow, and dirt. The bottom rail filler and its sweep fin are engineered to keep water from entering your home.
- Access the Bottom Rail: Depending on your model, you may need to carefully lift the operating panel out of the track to access the bottom rail. Always have a helper assist you when lifting heavy glass panels.
- Remove the Old Filler: Pull out the old bottom rail filler and sweep. Clean the bottom channel thoroughly.
- Apply Sealant: Apply a precise 1/16-inch bead of high-quality silicone sealant down the center of the bottom rail channel. This creates a secondary barrier against water infiltration.
- Seat the New Sweep: Press the new bottom rail filler and sweep fin firmly into the channel. Ensure the sweep is seated completely flush. If the bottom sweep is not correctly seated at the sill, it can lead to water leaks and drafts during heavy rainstorms.
- Reinstall the Panel: Carefully guide the operating panel back onto its track, taking care not to damage the newly installed bottom sweep fin.
For step-by-step guidance on bottom seals, take a look at our article on how to Install Door Weather Stripping.
Ensuring a Perfect Seal and Smooth Door Operation

Now that your new weatherstripping is installed, we want to make sure it functions exactly as the engineers at Andersen intended. A great weather seal relies on a system of parts working together, including the door’s rollers, the track, and the locking mechanism.
Andersen gliding doors feature a unique reachout locking system. When you turn the latch to lock the door, the lock mechanism actually reaches out, grabs the receiver on the jamb, and pulls the door panel tightly into the frame. This action compresses the new weatherstripping, creating a solid, airtight barrier.
Additionally, modern Andersen doors feature a “contain and drain” track system. This clever bit of engineering captures rainwater that hits the screen or door and automatically channels it back outside. Keeping your track clean and clear of dirt ensures this drainage system works in harmony with your new bottom rail sweep to protect your home.
Testing and Adjusting Your Andersen Sliding Door Weather Stripping Replacement
To verify that your installation was a success, perform these quick tests:
- The Dollar Bill Test: This is a classic trick. Open your door, place a dollar bill against the side jamb, and close and lock the door. Try to pull the dollar bill out. If it drags or holds tight, you have a fantastic compression seal. If it slides out effortlessly, your weatherstripping isn’t compressing enough, and you may need to adjust your door’s rollers or lock keeper. Repeat this test at various heights along the jamb.
- Check the Glide: Slide the door open and closed several times. It should glide smoothly without catching or binding on the new weatherstripping. If the door feels incredibly heavy or squeaks as it moves, you may need to adjust the roller screws at the bottom of the operating panel to lift or lower the door slightly.
- Lock Alignment: Ensure the reachout lock engages smoothly with the receiver. If you have to push or pull on the door to get it to lock, adjust the height of the door panel using the roller adjustment screws until the lock aligns perfectly.
If your door is still hard to push or making noise after adjusting the rollers, it might be time to address the track itself. Read our guide on how to Stop The Squeak Replacing Your Andersen Sliding Patio Door Track for expert troubleshooting steps.
Frequently Asked Questions About Andersen Sliding Door Weatherstripping
How often should I inspect my sliding door weatherstripping?
We highly recommend inspecting your patio door weatherstripping at least once a year as part of your regular home maintenance routine. The best time to do this is in the autumn, right before the freezing winter weather arrives. Look closely for physical signs of wear, such as tears in the vinyl, flattened or missing pile fibers, degradation from UV exposure, or sections that have pulled loose from their tracks.
Can I use generic weatherstripping on my Andersen patio door?
While generic adhesive-backed foam or felt strips from the local hardware store might seem like a quick fix, we strongly advise against them. Andersen doors are built with proprietary designs and tight tolerances. Generic weatherstripping is often too thick (which prevents the door from sliding or locking smoothly) or too thin (which leaves drafty gaps). Utilizing genuine OEM parts ensures your door maintains its original energy efficiency and operates effortlessly.
What should I do if my door’s weatherstrip profile is discontinued?
If you have an older door, such as a Perma-Shield model manufactured between 1978 and 2000, you might find that the original flexible meeting stile weatherstrip is no longer available. Don’t worry! Andersen has designed modern, backward-compatible replacement interlock weatherstrip sets specifically for these older models. These modern kits fit perfectly and often provide an even better seal than the original parts.
Conclusion
A successful andersen sliding door weather stripping replacement is one of the most rewarding home improvement projects you can tackle. By restoring that airtight seal, you protect your home from drafts, keep your energy bills in check, and ensure your patio door glides beautifully for years to come.
While many homeowners enjoy taking on this project themselves, we know that handling heavy glass door panels, identifying discontinued vintages, and working with high-tension parts can feel a bit overwhelming. If you would prefer to leave it to the professionals, the team at Perfect Windows & Siding is here to help.
We are a local, family-owned business with over 20 years of experience serving our neighbors in Des Plaines, Park Ridge, Morton Grove, and the surrounding Chicago suburbs. We pride ourselves on custom solutions, exceptional craftsmanship, and our signature lifetime warranty.
Whether you need a simple weatherstrip tune-up or are considering a complete upgrade to a beautiful, energy-efficient new sliding door, we have you covered. For a comprehensive look at your options, explore our Patio Door Replacement Guide 2026.
Ready to make your home draft-free? Schedule your consultation with Perfect Windows & Siding today, and let’s get your patio door back in perfect working order!