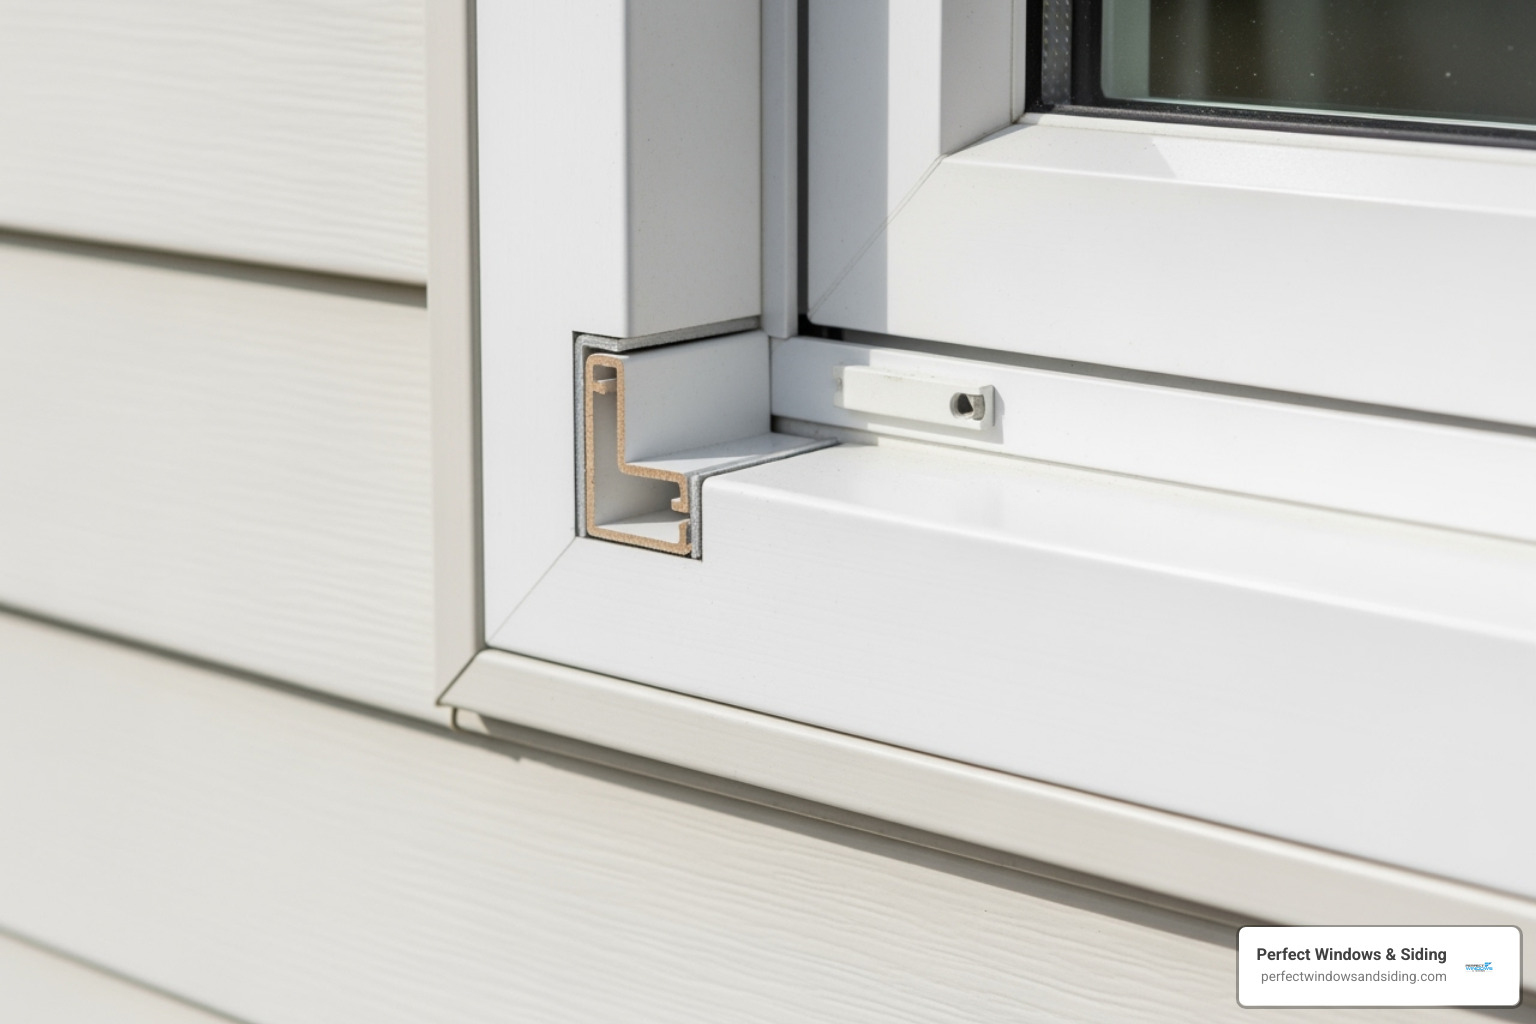
Why Professional Siding Installation Protects Your Chicago Home
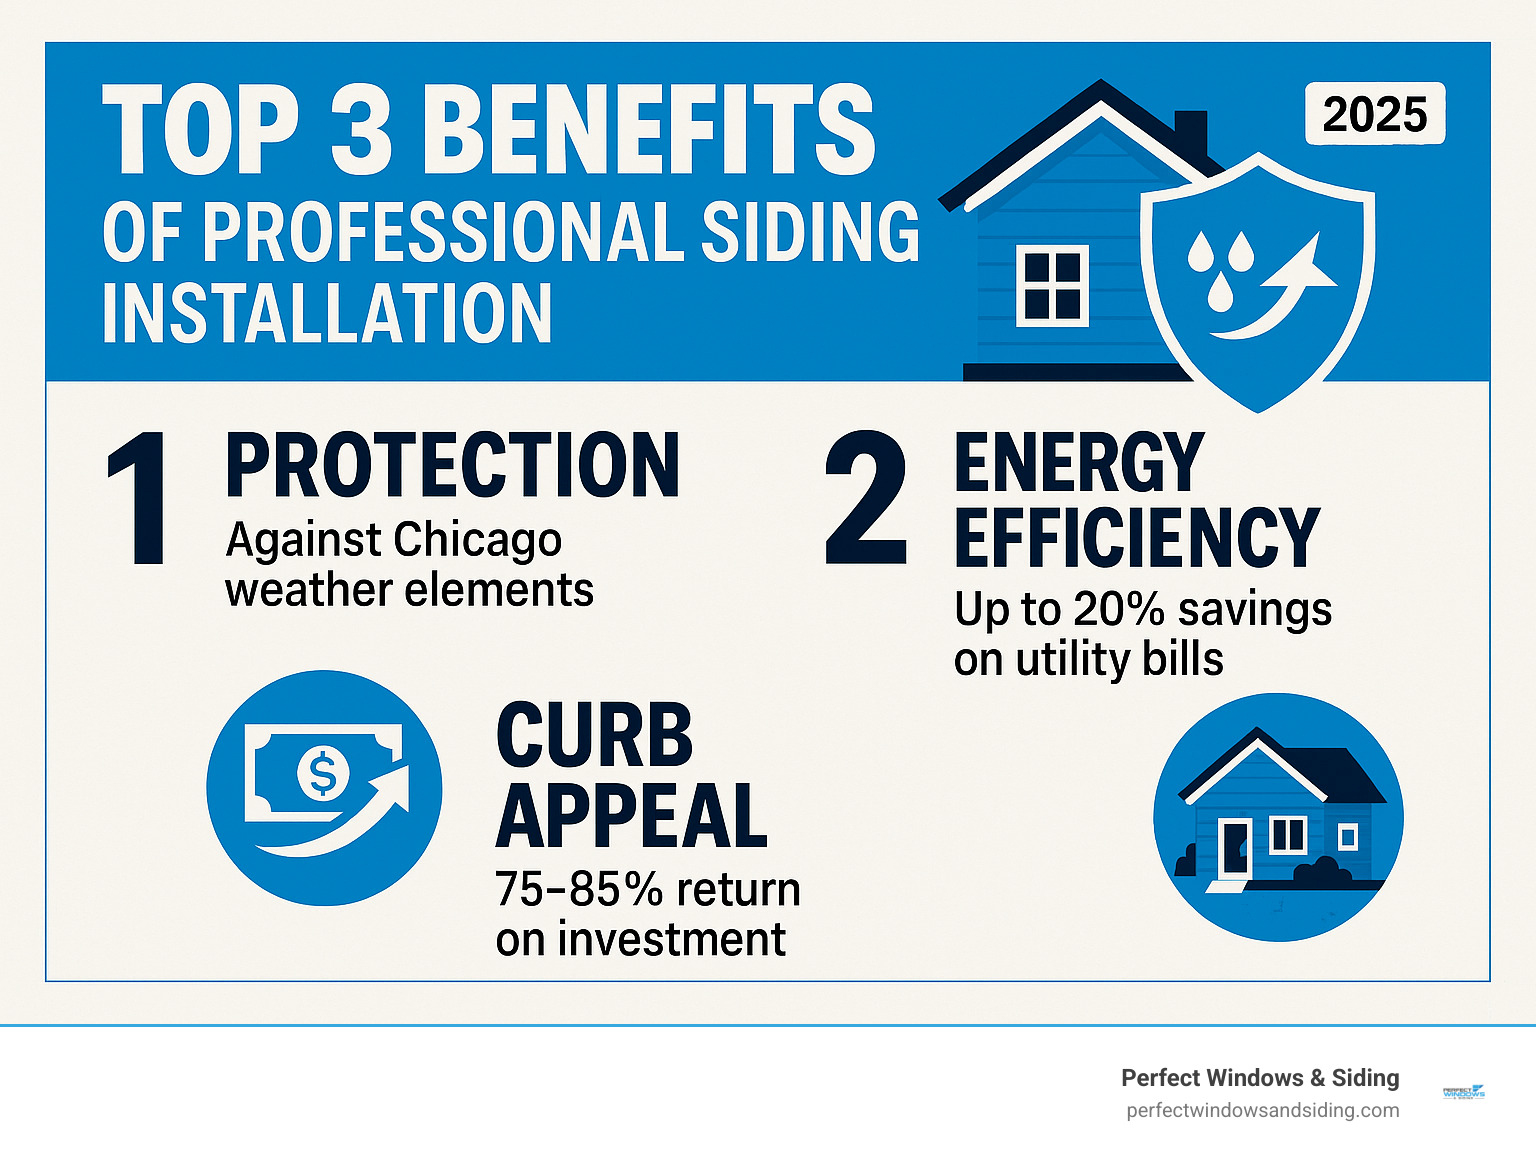
Siding Installation is more than an aesthetic upgrade; it’s a protective shield for your home. It defends against Chicago’s harsh weather, boosts energy efficiency, and increases property value. Here’s what proper siding installation delivers:
Key Benefits of Professional Siding Installation:
- Protection: Guards against moisture, wind, and temperature extremes
- Energy Savings: Reduces heating and cooling costs by up to 20%
- Home Value: Increases property value with 75-85% return on investment
- Durability: Quality installation lasts 30-50 years with minimal maintenance
- Weather Resistance: Essential for Chicago’s extreme temperature swings
The process involves careful preparation, precise measurement, and proper fastening. Vinyl siding expands and contracts up to 1/2 inch over a 12.5-foot panel with temperature changes, making professional installation critical for long-term performance.
Many homeowners underestimate this complexity. As one industry expert notes: “Siding installation is not just a project; it’s a shield for your home or business. It protects the exterior from damage or excessive wear and tear and provides additional insulation to keep your home comfortable in all seasons.”
Common installation challenges include:
- Ensuring proper expansion gaps (1/4″ minimum)
- Maintaining level courses across uneven walls
- Properly flashing around windows and doors
- Achieving weather-tight seals at corners and transitions
I’m Voytek Glab, owner of Perfect Windows & Siding. With over 20 years of experience, I’ve overseen hundreds of Siding Installation projects in Chicagoland. My hands-on approach ensures every installation meets the highest standards for protection and aesthetics.
Understanding Your Siding Options and Costs
Choosing new siding for your Chicago home is a significant investment. Siding Installation is about more than looks; it protects your family from Chicago’s weather, helps manage energy bills, and adds value to your property. Quality siding acts as a shield, blocking moisture and working with your insulation to lower energy costs. A well-executed siding project typically returns 75% to 85% of your investment upon sale, making it one of the best home improvements. That’s Why New Siding is Worth the Investment.
Types of Siding Materials
The right siding material depends on your priorities, budget, and home’s performance needs. Here are the most popular options in the Chicago area:
| Material | Durability | Maintenance | Cost (Avg. Installed per sq ft) | Aesthetics |
|---|---|---|---|---|
| Vinyl Siding | Good; resistant to rot, insects, and moisture | Low; cleaning with soap and water | $6 – $11 | Versatile; wide range of colors and styles |
| Fiber Cement | Excellent; lasts 30-50 years, fire/pest/moisture resistant | Low to moderate; occasional cleaning/recaulking | $9 – $14 | Mimics wood/masonry; durable finish |
| Engineered Wood | Good; moisture/pest resistant, durable coating | Moderate; occasional cleaning/inspections | $8 – $13 | Natural wood look without high maintenance |
| Metal (Steel/Alum) | Excellent; fireproof, insect resistant, durable | Low; cleaning with soap and water | $9 – $16 | Modern, sleek; variety of finishes |
Vinyl siding is a popular and affordable choice in Illinois. It’s low-maintenance, resistant to rot and insects, and available in many colors. However, vinyl expands and contracts up to half an inch over a 12-foot panel. This makes professional installation with proper expansion gaps critical. The Benefits of Vinyl Siding for Illinois Homes are clear in our climate.
Fiber cement siding, made from sand, cement, and wood fibers, is exceptionally tough. It resists fire, pests, and moisture for 30 to 50 years and can mimic the look of wood or masonry without the high maintenance. While the upfront cost is higher, its durability and low-risk profile make it a smart long-term investment.
Engineered wood siding offers the classic look of wood without the vulnerability to rot and pests. It’s made from wood strands, waxes, and resins, creating a durable and reliable product that provides warmth and character with less maintenance.
Metal siding (steel and aluminum) provides a sleek, modern aesthetic. Steel is incredibly strong, while lightweight aluminum reflects heat. Both are fireproof, insect-resistant, and virtually maintenance-free, giving your home a contemporary edge.
Estimating Siding Installation Costs
For a typical Chicago-area home, a complete Siding Installation costs between $10,000 and $26,000. Several factors influence this price:
- Material Choice: Vinyl is the most budget-friendly ($6-$11/sq ft), while fiber cement ($9-$14/sq ft) and metal ($9-$16/sq ft) are at the higher end.
- Home Size & Complexity: A simple ranch-style home is less expensive to side than a multi-story house with gables, dormers, and intricate details that require more time and trim work.
- Labor Costs: These vary by project complexity. It’s wise to invest in experienced craftsmen who understand how to create weather-tight seals that last, rather than choosing the lowest bidder.
- Upgrades: Options like insulated siding or premium trim add to the initial cost but can boost energy efficiency and curb appeal. For premium choices like Hardie Board Siding Installation, the investment often pays for itself in longevity.
How Siding Improves Energy Efficiency
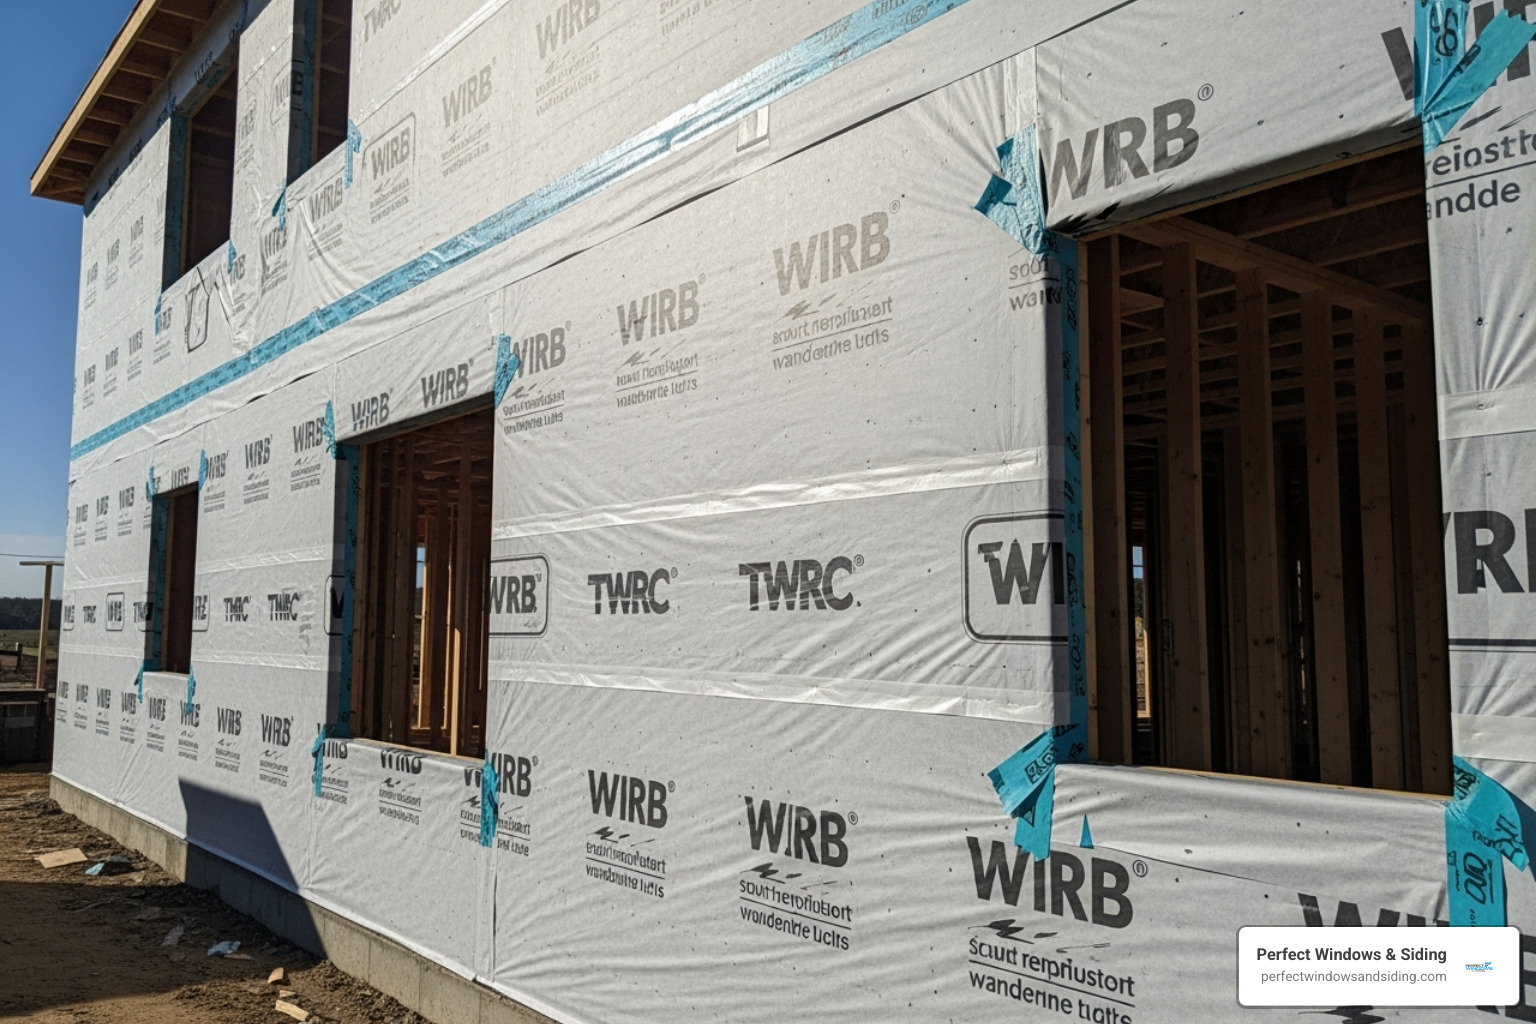
Quality Siding Installation significantly improves your home’s energy efficiency. Before installing siding, we apply a water-resistive barrier (house wrap). This layer blocks moisture and prevents air infiltration, which is a major source of energy loss.
While siding’s R-value (thermal resistance) is modest, it works with your home’s insulation system. Insulated siding includes foam backing that increases your wall’s overall R-value, slowing heat transfer and keeping your home comfortable.
Proper installation is key to air leakage prevention. By sealing gaps and cracks, we ensure your heated or cooled air stays inside, reducing the workload on your HVAC system and lowering utility bills. This weather resistance keeps your insulation dry and effective, as wet insulation loses its insulating power. A quality siding installation can reduce heating and cooling costs by up to 20%. Combining this with other upgrades, like those discussed in Windows and Siding in Chicago, IL, can yield even greater savings.
Preparing for Your Siding Project
Preparing your home for Siding Installation creates the foundation for a long-lasting result. This prep work is the difference between a job that lasts 15 years and one that protects your home for decades. We don’t just cover old problems; we create a complete protective system through thorough wall inspection, damage repair, and careful removal of old siding when needed. Throughout this process, safety precautions are our top priority.
Essential Tools and Materials for Vinyl Siding
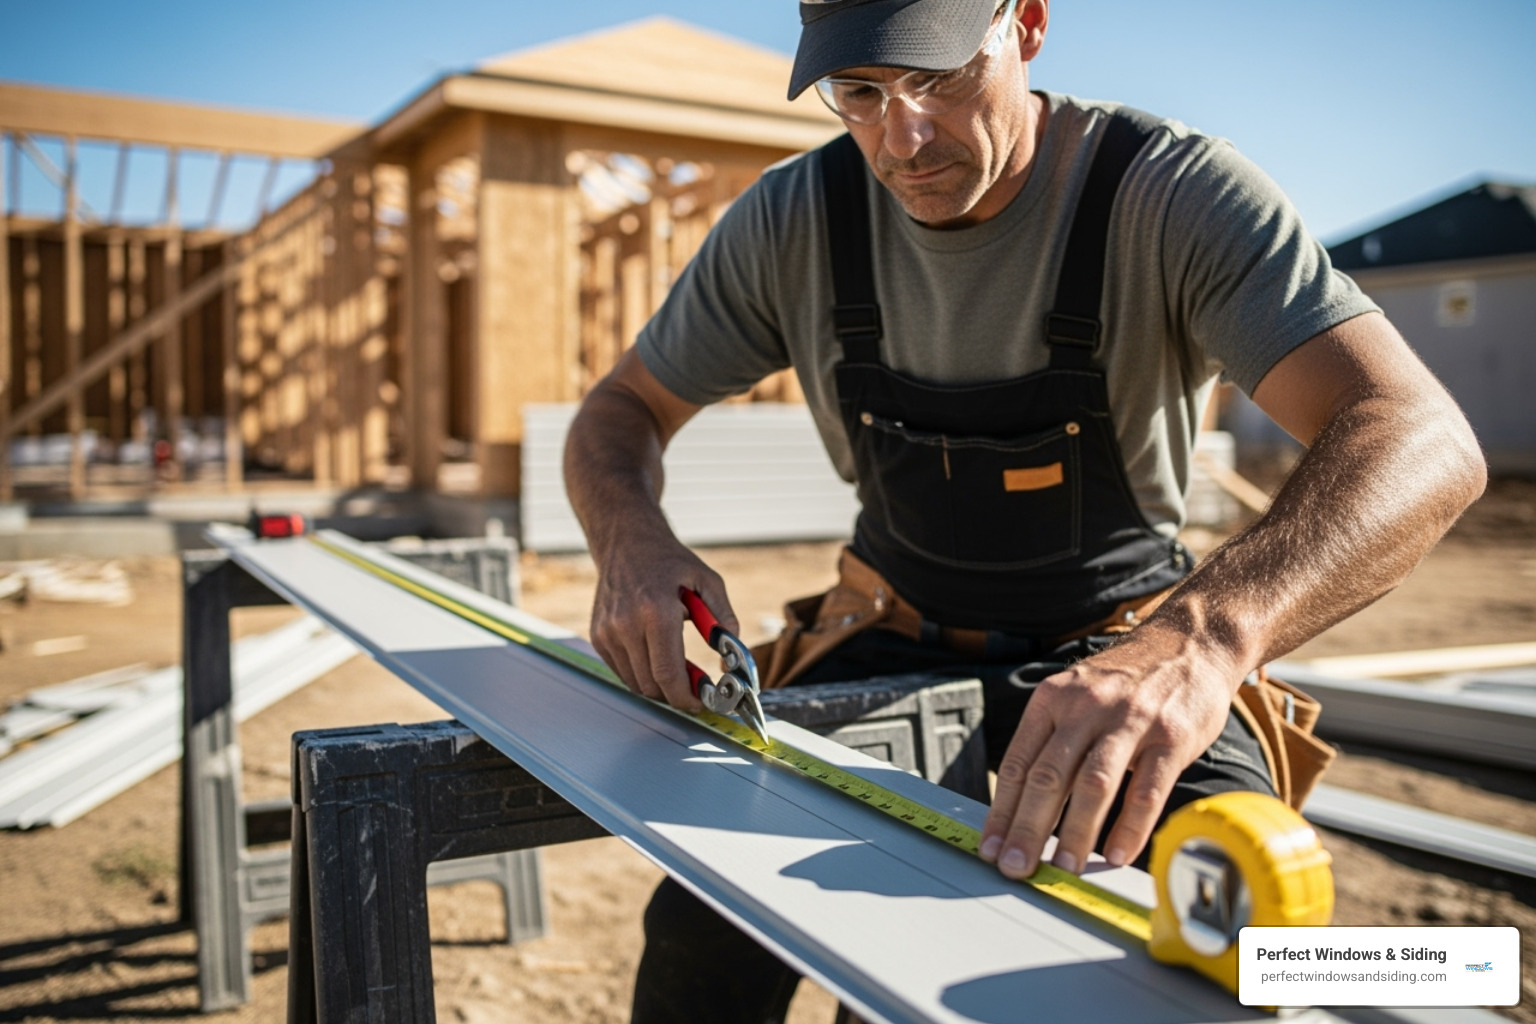
Understanding the tools and materials used in a professional Siding Installation helps you appreciate the craftsmanship involved. For a vinyl siding project, essential tools include a hammer, a level to ensure straight courses, a chalk line for reference, tin snips and a utility knife for clean cuts, and a snap lock punch to create finishing tabs.
Key materials include the siding panels, J-channel for trimming around windows and doors, starter strips for the first course, corner posts for clean corners, and corrosion-resistant fasteners. The most critical material is the house wrap, or water-resistive barrier, which acts as a final defense against moisture. You can learn more about the tools needed for a successful project for more technical details.
Prepping the Exterior Walls
Properly preparing exterior walls is crucial for siding performance. We begin by nailing loose boards and replacing rotten wood. Installing new siding over a compromised structure will lead to inevitable problems.
Next, we remove old caulk from around windows and doors, as brittle caulk creates pathways for water. We then apply fresh, high-quality sealant. We also remove fixtures like lights and downspouts and tie back shrubbery to create a safe, clear workspace.
The most critical step is installing a water-resistive barrier over the entire surface. This house wrap ensures that any water that gets behind the siding drains away harmlessly. We pay special attention to flashing around windows and doors, as these are the most vulnerable areas for moisture intrusion.
This thorough preparation sets the stage for a Siding Installation that will protect and beautify your home for decades. If you’re dealing with existing vinyl, a guide on safely removing vinyl siding covers the process.
The Step-by-Step Vinyl Siding Installation Process
Siding Installation is where careful preparation pays off. This process requires precision, as one small mistake can affect the entire project. Professional techniques and weather-tight seals are the result of proven methods and attention to detail.
Step 1: Establishing a Foundation with Strips and Posts
This first step is like laying a foundation—everything depends on it. We find the lowest point of the home’s perimeter and snap a level chalk line. This line guides the entire installation.
The starter strip is installed along this chalk line. This piece is the hero of your Siding Installation, as every panel above depends on it being perfectly level. We nail it securely, leaving small gaps between sections for expansion.
Next, we install corner posts, ensuring each is perfectly plumb (vertically straight). Inside corner posts create clean lines where walls meet, while outside corner posts define the home’s exterior corners. We always leave a quarter-inch gap at the top of the posts to allow for upward expansion in the heat, preventing future buckling.
Step 2: A Guide to Panel Siding Installation
This is where the change begins. We start by locking the first course into the starter strip. The panel should snap into place but still slide easily from side to side.
The most important rule for vinyl siding is to never nail it tight. A 1/32-inch gap (the thickness of a dime) must be left between the nail head and the siding. This allows the panel to expand and contract with temperature changes, preventing buckling.
Centering nails in the slots is also essential. The oval-shaped holes are engineered to allow movement in both directions. We also overlap panels by one inch to ensure proper water shedding and stagger the seams to avoid a vertical “zipper effect.” Fasteners are spaced no more than 16 inches apart, with joints staggered by at least three feet. These details are hallmarks of professional work, as outlined in our guide to Vinyl Siding Installation.
Step 3: Finishing Around Openings and at the Top
The final steps are where craftsmanship truly shows. Trimming around windows and doors requires experience.
We install J-channel around every window and door to create a clean, finished look and direct water away from these openings. Proper flashing is integrated with each piece for maximum protection.
Cutting siding to fit under windows requires a special technique. We remove the nailing strip from the panel and use a snap lock punch to create small tabs along the cut edge. These tabs lock into utility trim installed under the window, securing the panel without visible nails.
We use the same principle for finishing the top course. The final row is cut to fit, punched with tabs, and snapped into utility trim along the roofline. Finishing gables involves installing J-channel along the roof’s rake and cutting each panel to match the angle perfectly. This precision work ensures a Siding Installation that protects and beautifies your home for decades.
Key Considerations and Common Mistakes
DIY Siding Installation can be challenging. Many homeowners underestimate the precision required, leading to common and costly mistakes. Professional standards exist for a reason, especially in Chicago, where our weather tests every aspect of an installation.
Common Siding Installation Mistakes to Avoid
Subtle errors can compound over time, turning a long-term investment into a source of frustration. Here are the most common mistakes:
- Nailing too tightly: This is the biggest culprit in failed vinyl installations. Driving nails flush prevents the siding from moving with temperature changes, resulting in wavy, buckled panels. A 1/32″ gap is crucial.
- Insufficient panel overlap: Panels must overlap by at least one inch. Otherwise, gaps can appear in cold weather, inviting moisture and pests behind the siding.
- Expansion gap oversight: Vinyl can expand up to 1/2 inch over a 12.5-foot panel. Forgetting to leave adequate gaps where panels meet trim will cause buckling.
- Improper flashing: This is a dangerous mistake, as water intrusion around windows and doors can lead to rot, mold, and costly structural damage.
- Uneven or crooked courses: If the first starter strip isn’t perfectly level, every subsequent row will be off, creating a visibly amateur result.
- Skipping the level: Professionals check for level constantly. “Close enough” is never good enough for a wall-sized installation.
These mistakes can void manufacturer warranties and lead to premature failure. Our Siding Replacement Chicago services can correct these issues and restore your home’s protection.
DIY vs. Professional Siding Installation
The decision between DIY and professional installation involves more than just cost.
- Time Commitment: A professional crew can finish a Siding Installation in one to two weeks, while a DIY project can stretch over months.
- Tools and Skills: Professional results require specialized tools (like snap lock punches) and skills gained through experience.
- Safety Risks: Working at heights with power tools is inherently risky. Professionals are trained and insured, protecting you and your property.
- Warranty: We provide a lifetime warranty on workmanship, offering peace of mind that DIY projects cannot. Manufacturer warranties may also require professional installation.
- Professional Finish: Mastering the subtle techniques for plumb corners, seamless trim, and proper gaps is what separates an amateur job from a professional one.
For most homeowners, hiring experienced Siding Companies Chicago is the wisest investment.
Siding Maintenance and Longevity
Modern siding is low-maintenance, but not no-maintenance. A little care extends its life.
- Cleaning: Use a garden hose, soft brush, and mild detergent for most dirt. Avoid high-pressure washers, which can damage siding.
- Inspection: Seasonally check for loose panels, cracks, or damage, especially around windows and doors.
- Caulking: Annually inspect caulk around trim, windows, and doors, and reapply as needed to maintain a moisture barrier.
- Pest Prevention: Check for and seal any gaps where insects or pests might enter.
Following these tips, like those in our Fall Maintenance Tips for Your Windows and Siding, will keep your investment in top condition.
Frequently Asked Questions about Siding Installation
After two decades of Siding Installation projects in Chicagoland, we’ve heard nearly every question. Here are the most common ones, answered directly.
How long does siding installation typically take?
Most Siding Installation projects take one to two weeks. The timeline depends on your home’s size and complexity, the siding material chosen, and weather conditions. Vinyl siding installs faster than heavier materials like fiber cement. Occasionally, we find hidden damage behind old siding that must be repaired, which can extend the timeline but is crucial for a lasting investment.
What is the easiest type of siding to install for a DIY project?
Vinyl siding is the most approachable for DIY installation due to its light weight and simple interlocking system. However, “easiest” does not mean “easy.” Proper technique is critical. Key details like leaving a 1/32″ nailing gap, ensuring proper expansion space, and keeping courses level are essential to avoid a buckled, unprofessional finish. Most homeowners find the process more complex and time-consuming than anticipated, which is why professional installation is recommended.
Do I need a permit to install new siding in Chicago?
Yes, you typically need a permit for Siding Installation in Chicago and its suburbs. Municipalities require permits to ensure all work meets local building codes for safety and energy efficiency. This protects you as the homeowner. Requirements vary, so check with your local government before starting.
One of the advantages of hiring a professional contractor like Perfect Windows & Siding is that we handle all the permit paperwork for you. We know the requirements for each municipality, ensuring your project is completed legally and to code, which protects your home’s value and insurance coverage.
Your Partner for Expert Siding Services in Chicago
A successful Siding Installation is a complex project that improves your home’s beauty, value, and protection against Chicago’s weather. The process requires expertise, from choosing the right materials to ensuring precise installation. Key details, like the 1/32-inch nail gap, are the difference between siding that lasts for decades and siding that fails within a few seasons.
Proper installation requires experience, specialized tools, and knowledge of how materials perform in our climate, which is why professional service is a wise investment over a frustrating DIY attempt that can lead to costly repairs.
For homeowners throughout the Chicago area—including Des Plaines, Wilmette, Hinsdale, Park Ridge, Glenview, Mount Prospect, Niles, Norridge, Schaumburg, and other Chicagoland communities—Perfect Windows & Siding has been the trusted choice for over two decades. As a local, family-owned business, we understand what your home needs to stay protected and beautiful.
What sets us apart is our experience and our lifetime warranty that backs up every installation. We stand behind our work because we do it right the first time. Our custom solutions ensure your project receives the personal attention it deserves.
When you’re ready to give your home the protection and curb appeal it deserves, we’re here to help. Contact us today to learn more about our comprehensive siding services and find out how we can transform your home with a Siding Installation that’s built to last.

